Winterscape Wetfelting Simplified
It is easier for me to use photo as a frame of reference for wetfelting. I will often omit doing a quick sketch, but even without doing a preliminary sketch, I will look at my photo to simplify the details before doing a layout. Less is more is the overall idea I am for. The background or skies will usually be the first area to omit details unless this will be a focal point of the completed piece. Using 21.5 micron merino wool roving or superfine is an ideal weight of roving for wetfelting or Nuno felting. I use this weight in the backgrounds especially.
A huge winter snow served as my inspiration for this piece as I am surrounded by Marsh Lake State Wildlife Fishery, Trine Recreation Park and Pokagon State Park. In this case, I wanted to focus on the light shining through the trees so I chose to omit a lot of trees/branches as well as the snow on them.
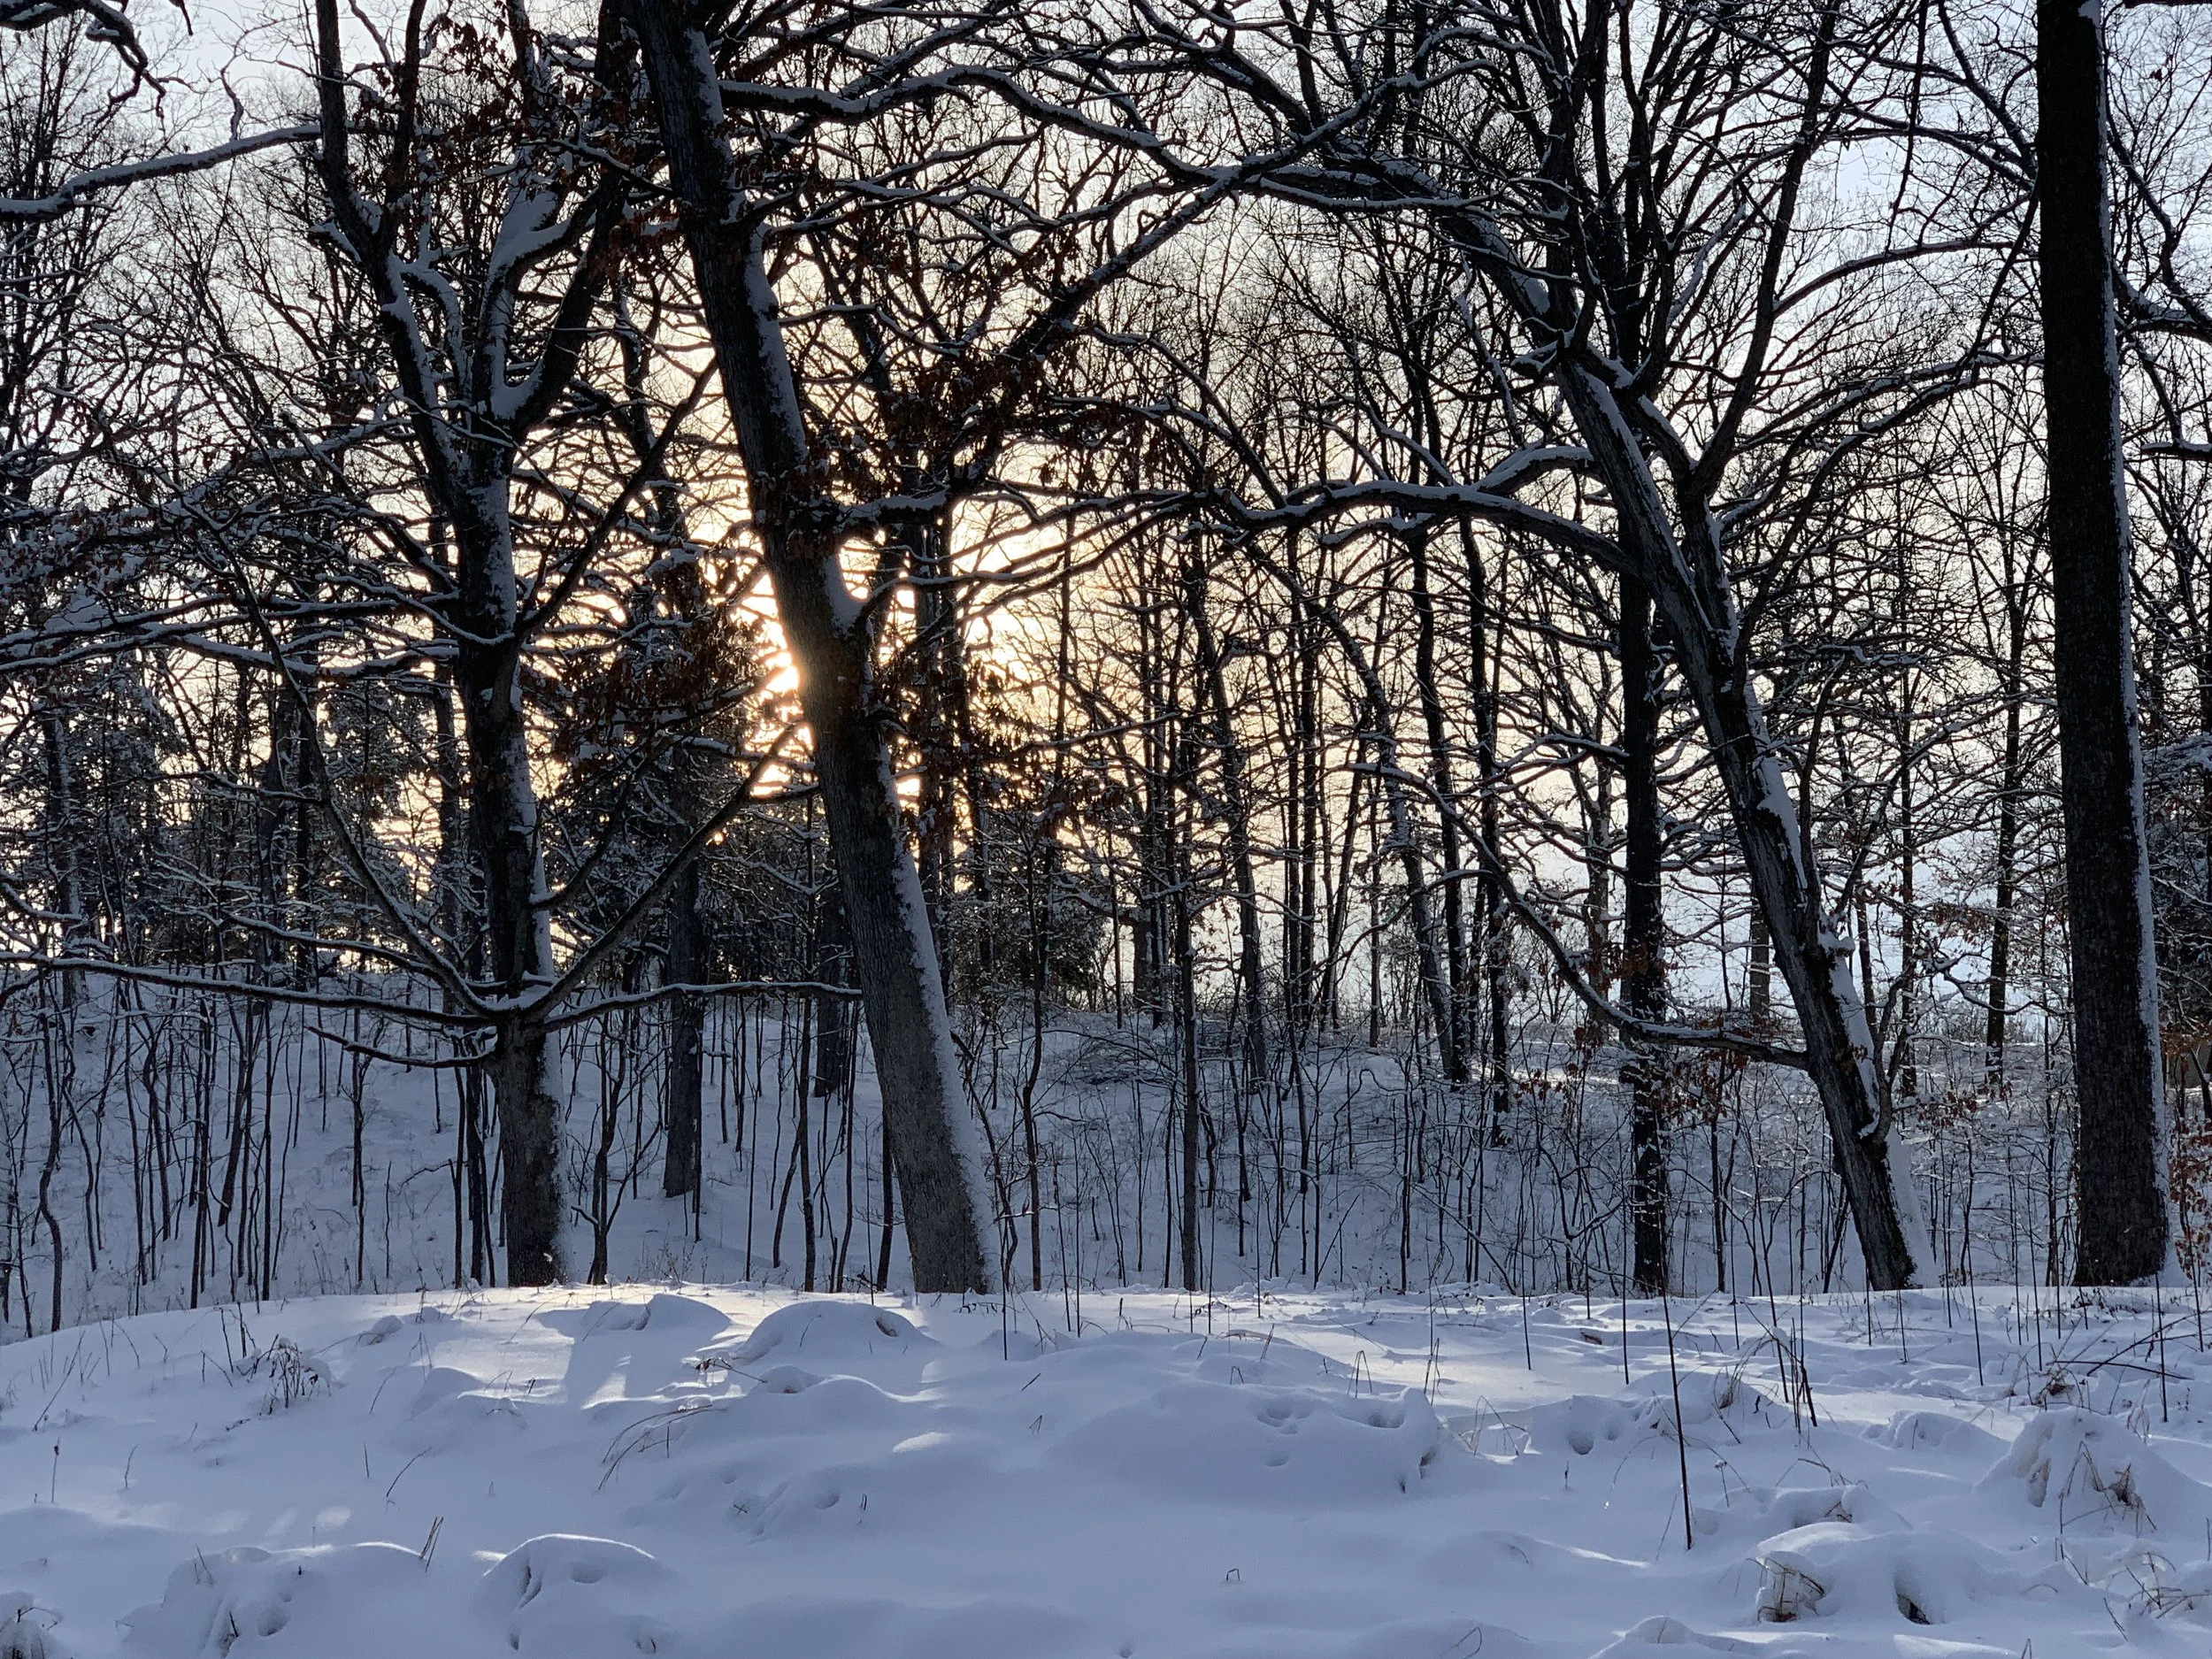
Trine Recreation Reference Photo
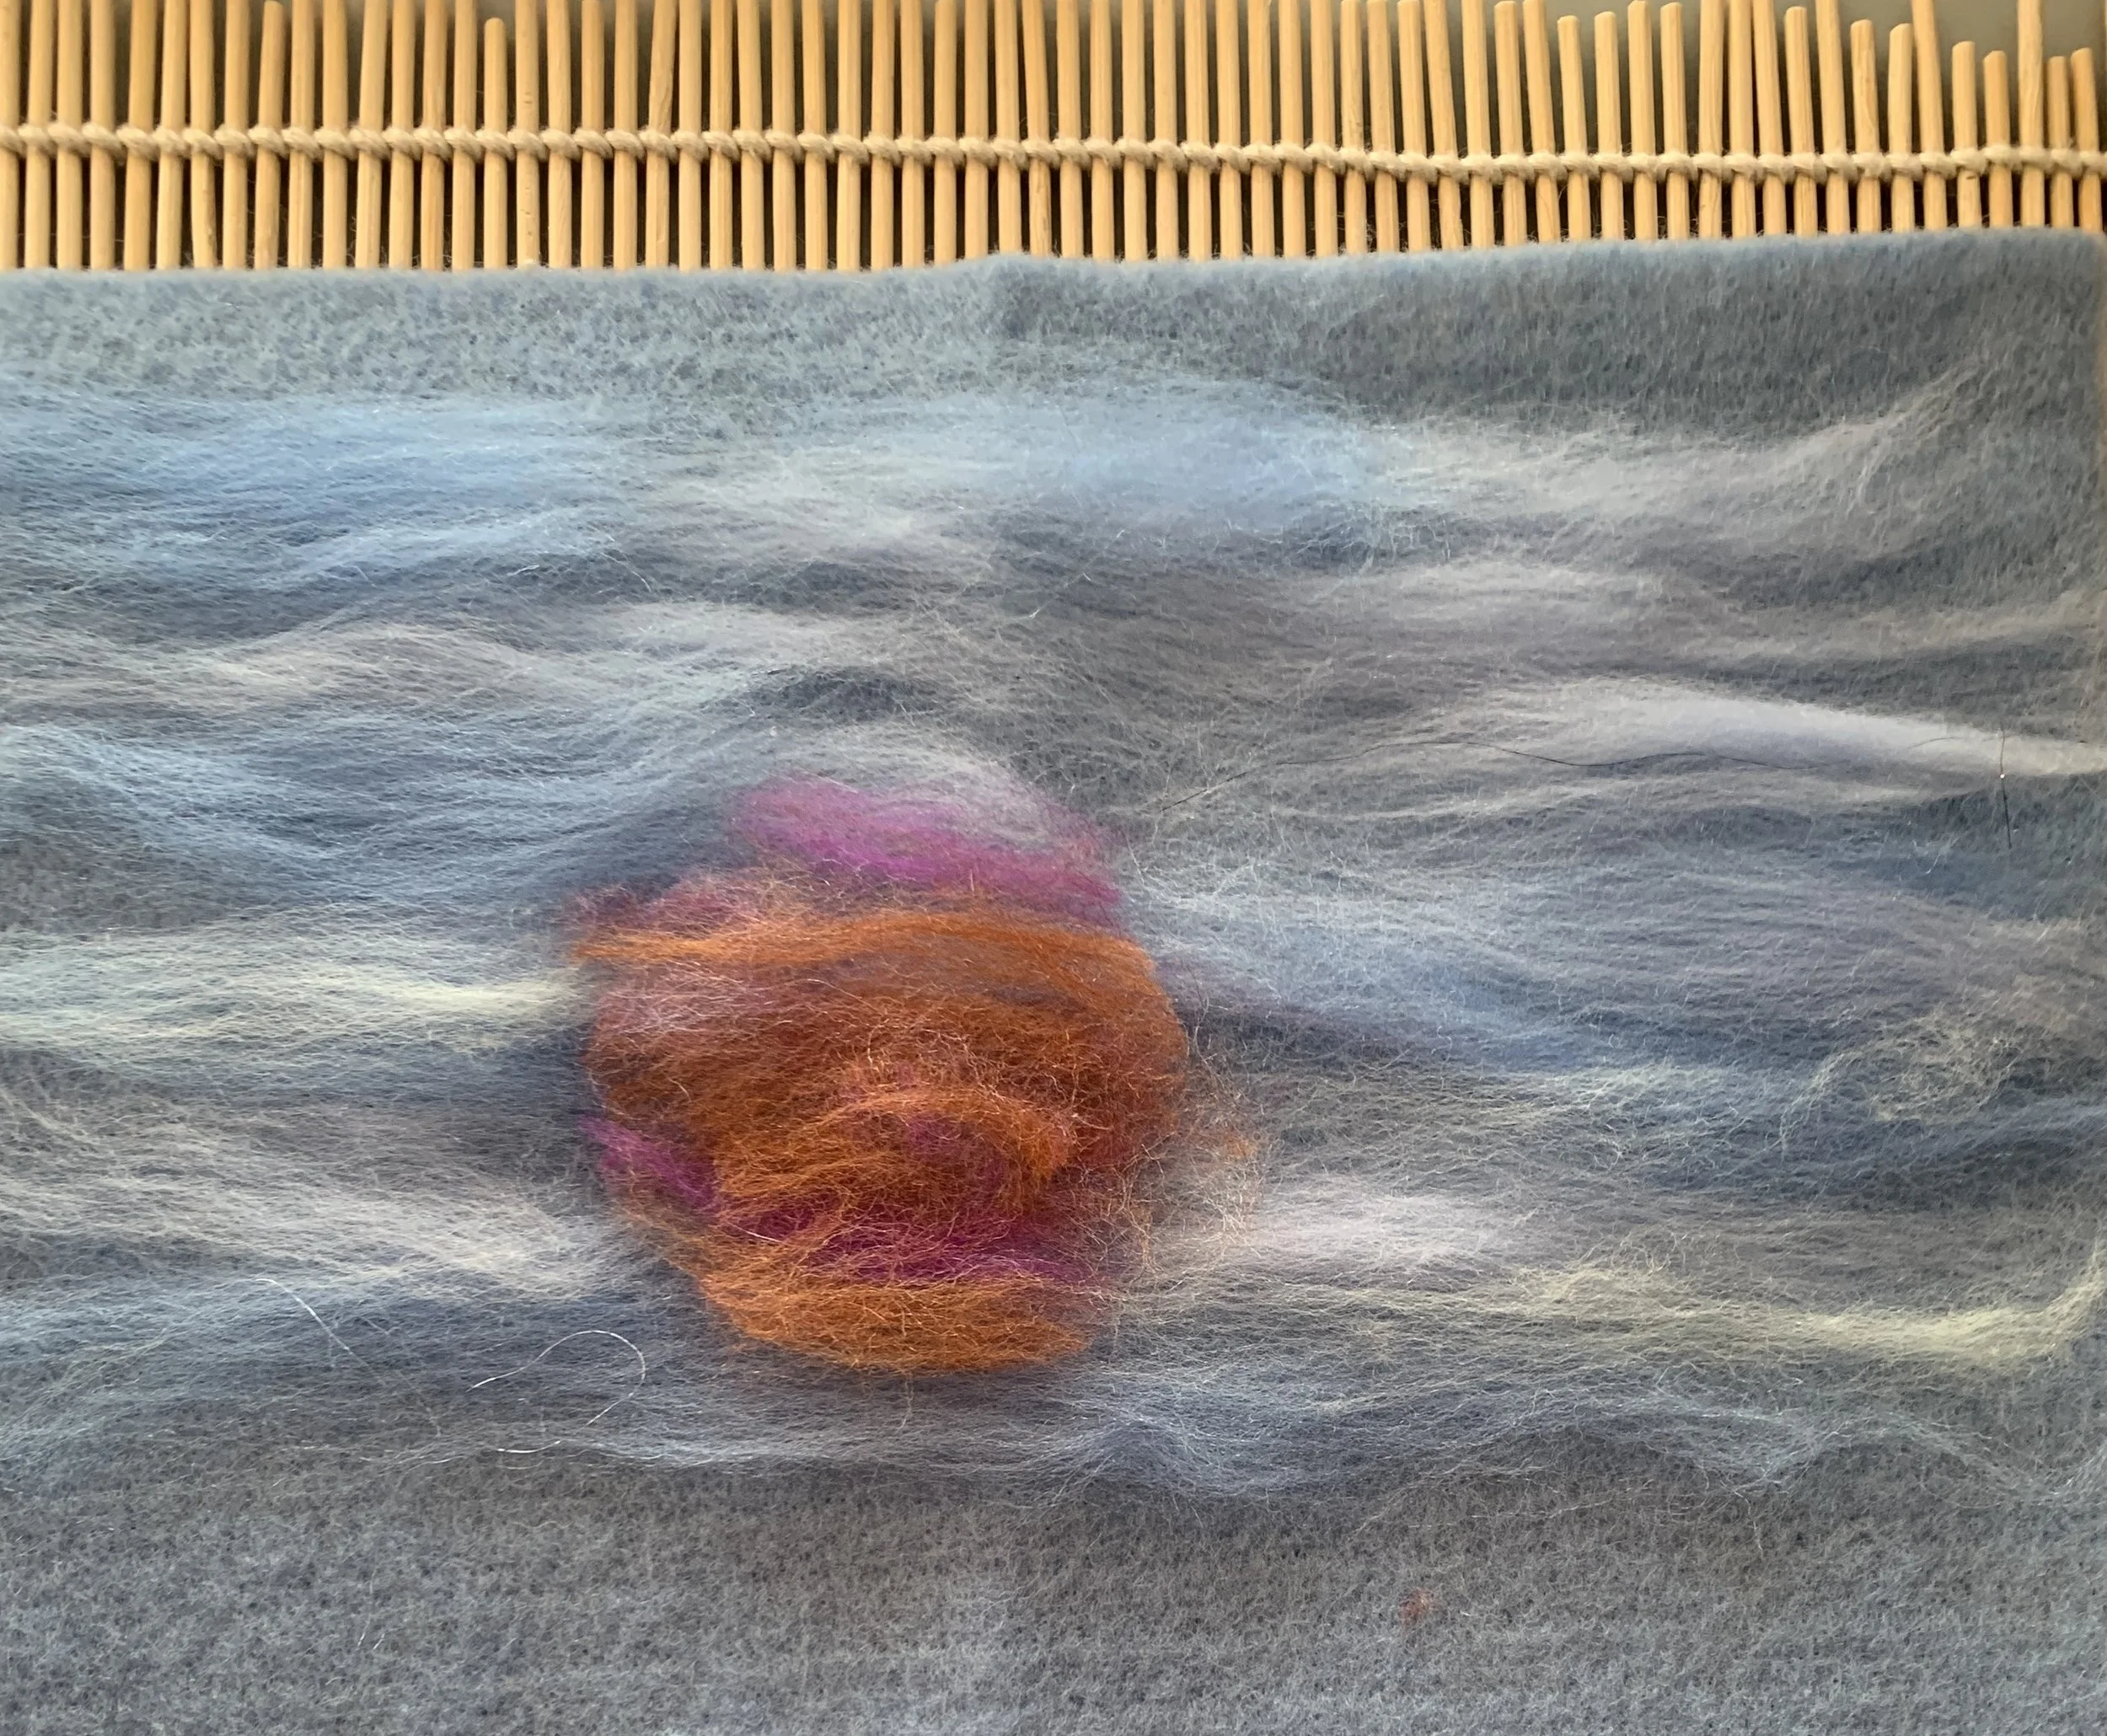
Cutout of Sun in background
Step 1: Layout some fine layers of light blues,grays, and whites for sky moving in the same direction on a medium wool pre-felt. Next I hand-carded different colored bright merino wools in orange and hot pinks and used my scissors to cut in a circular shape. The circular shape will move during the wetfelt process.
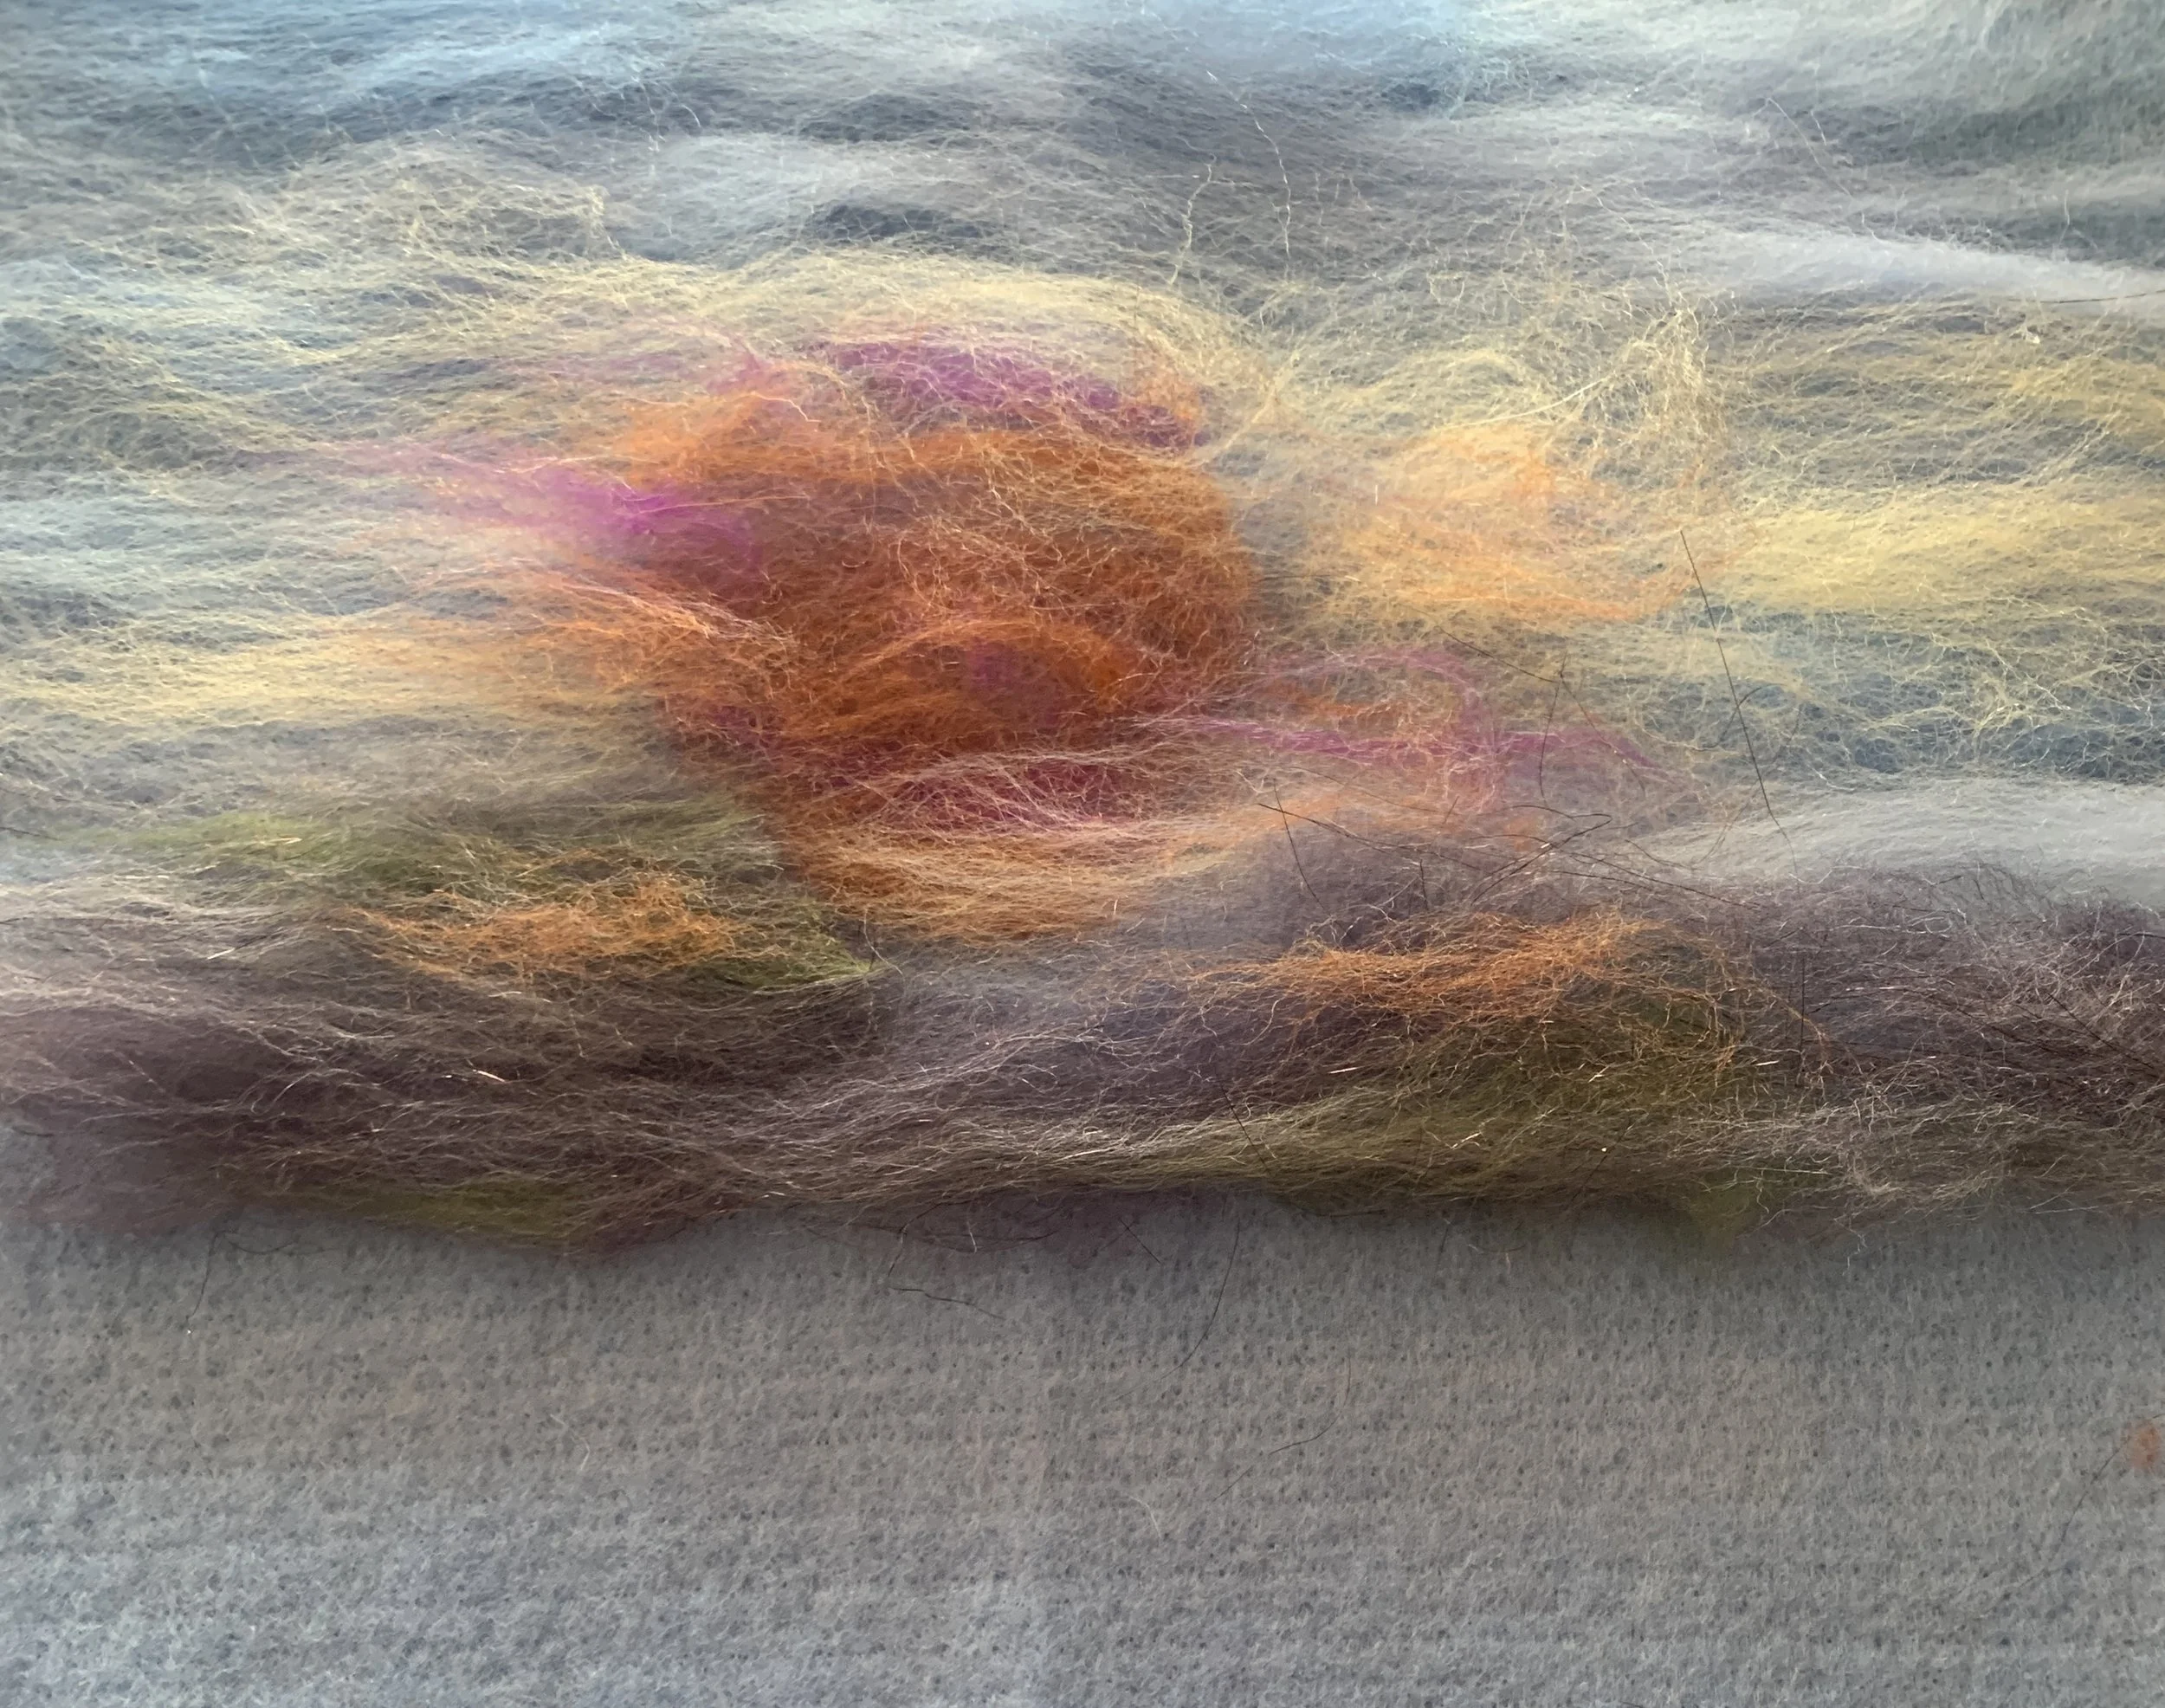
Adding in more color of different value merino wool
Step 2: Add in light values of orange and yellow around the circular sun. Continue to work your way from top to bottom and lay in your horizon of darker value landscape colors of greens and browns. Note the original photo and how I have simplified the layout as I have purposely not included the detailed fur trees. Just a touch of these colors hints at something along the horizon especially on the left of the sun.

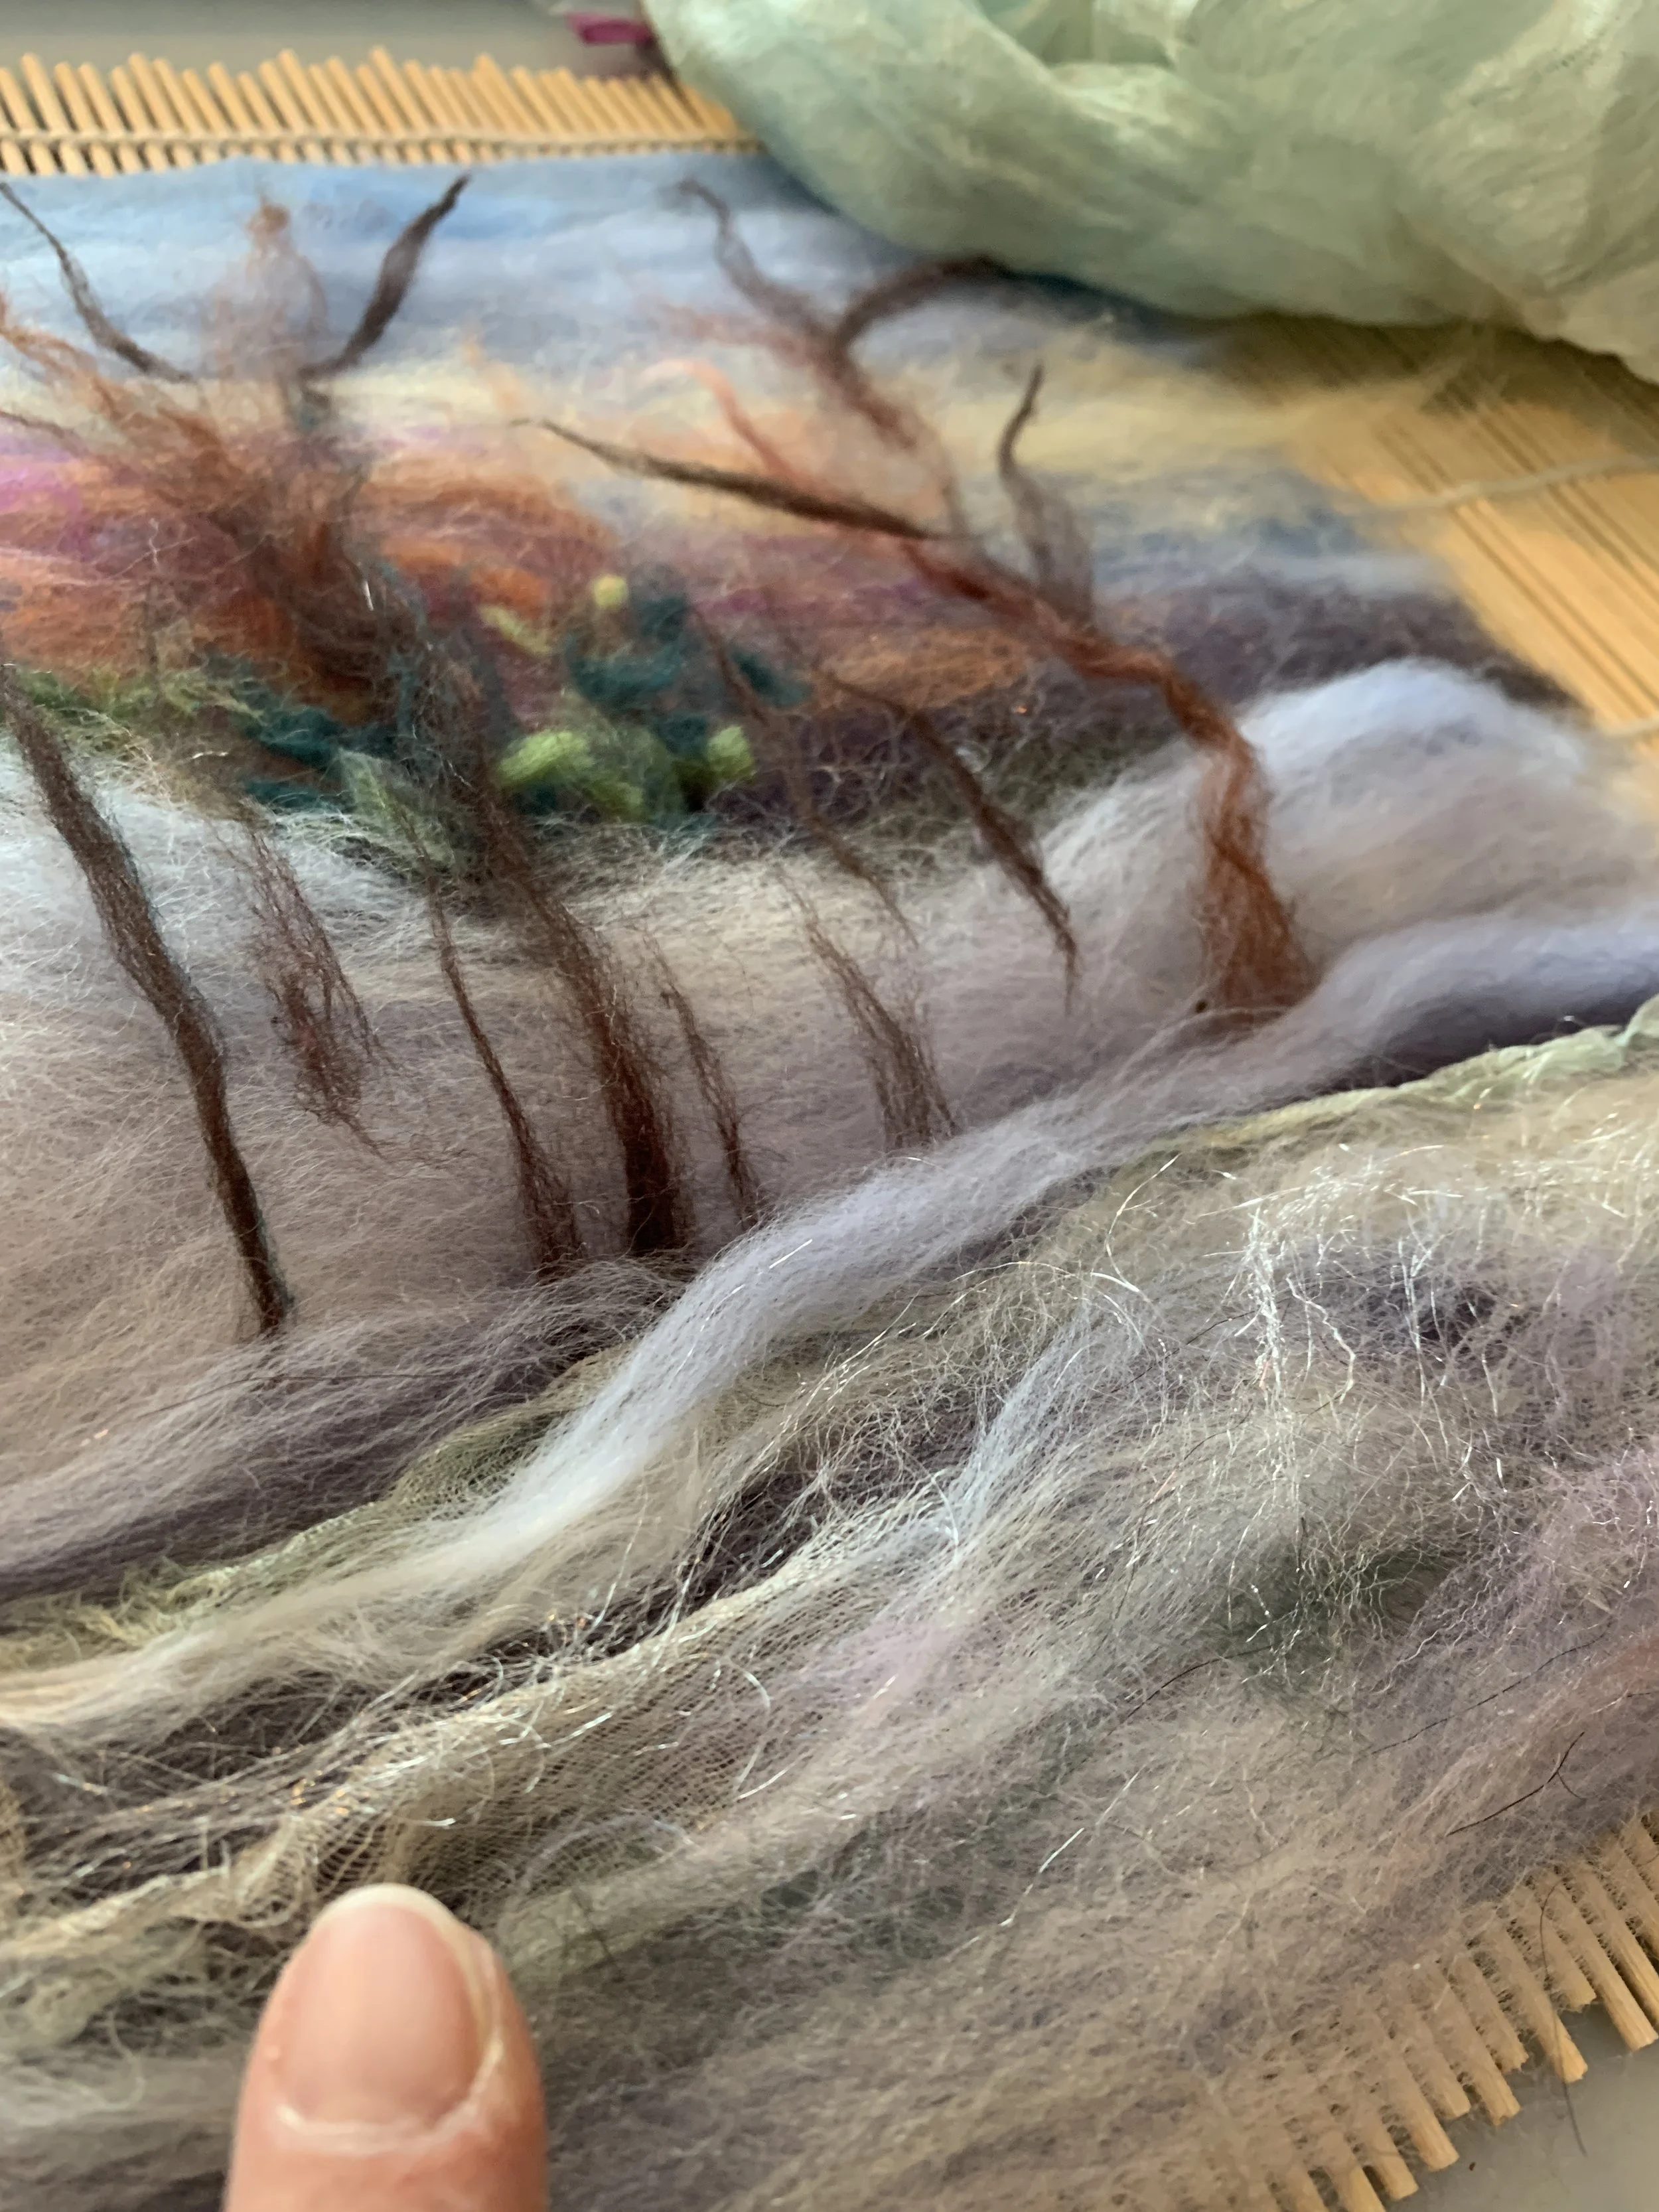
Trees of loosely twisted wool and silk roving
Step 3: I used fine pieces of wool and silk roving to lay in trees and branches. It is loosely twisted together, but tightly twisted at the ends when possible. It is layered over the background in a vertical direction. Tweezers would certainly help me at this point with positioning, but I tend to work quickly and not use them. Last I will lay some snow-colored wool roving over the base of the trees. It helps to secure the silk and also creates the effect of the hill in the landscape.
Foreground with Margilan Silk Gaz
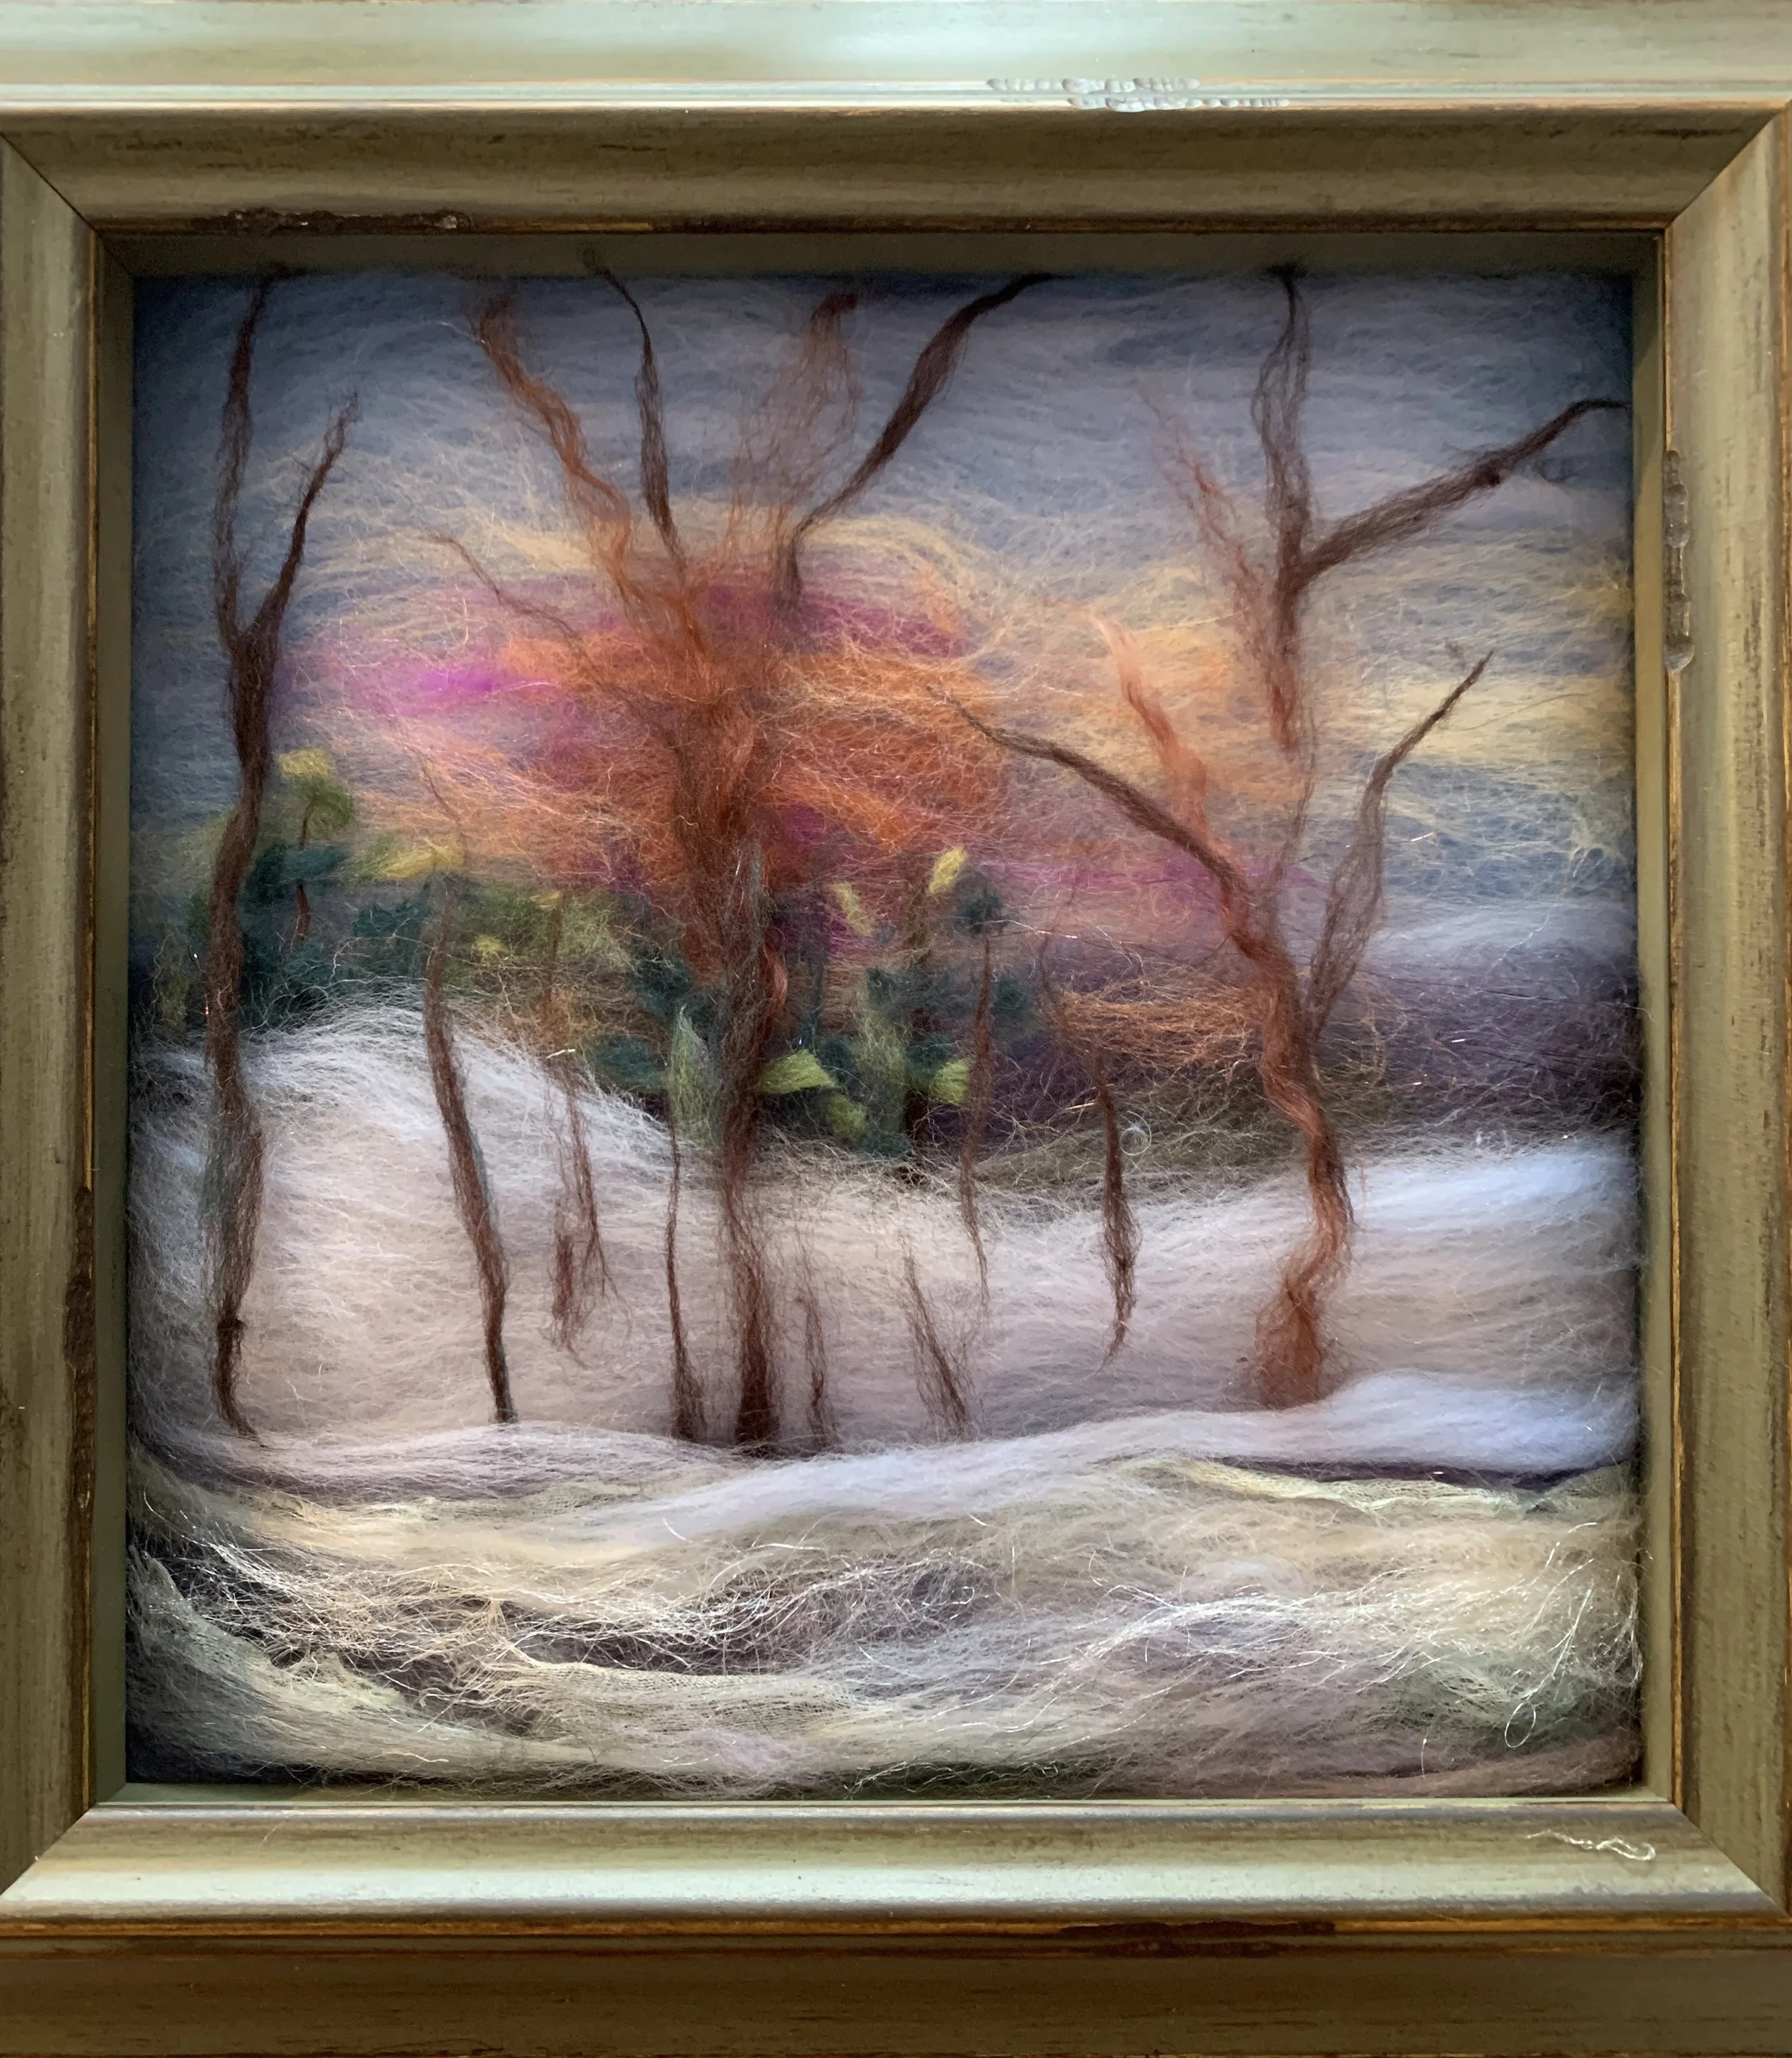
Frame Viewing
Step 4: continue to work on foreground by building different textures. My favorite silk fabric to use is hand-dyed margilan gaz or silk gauze. I also add in fine details of scissor snipped light greens into the foreground. Details can be added in as well. Not shown in the photo above are some previously related rocks. To learn more about felted rocks, see my blog titled, “I love rocks felted and otherwise!”
Frames! Frames are helpful to view how the finished piece is looking. It also reminds me not to add too much detail or bulk that might be covered up or make final framing difficult. A smaller mat frame can also be helpful to move over smaller sections of the piece as a viewfinder to examine areas that may need attention.
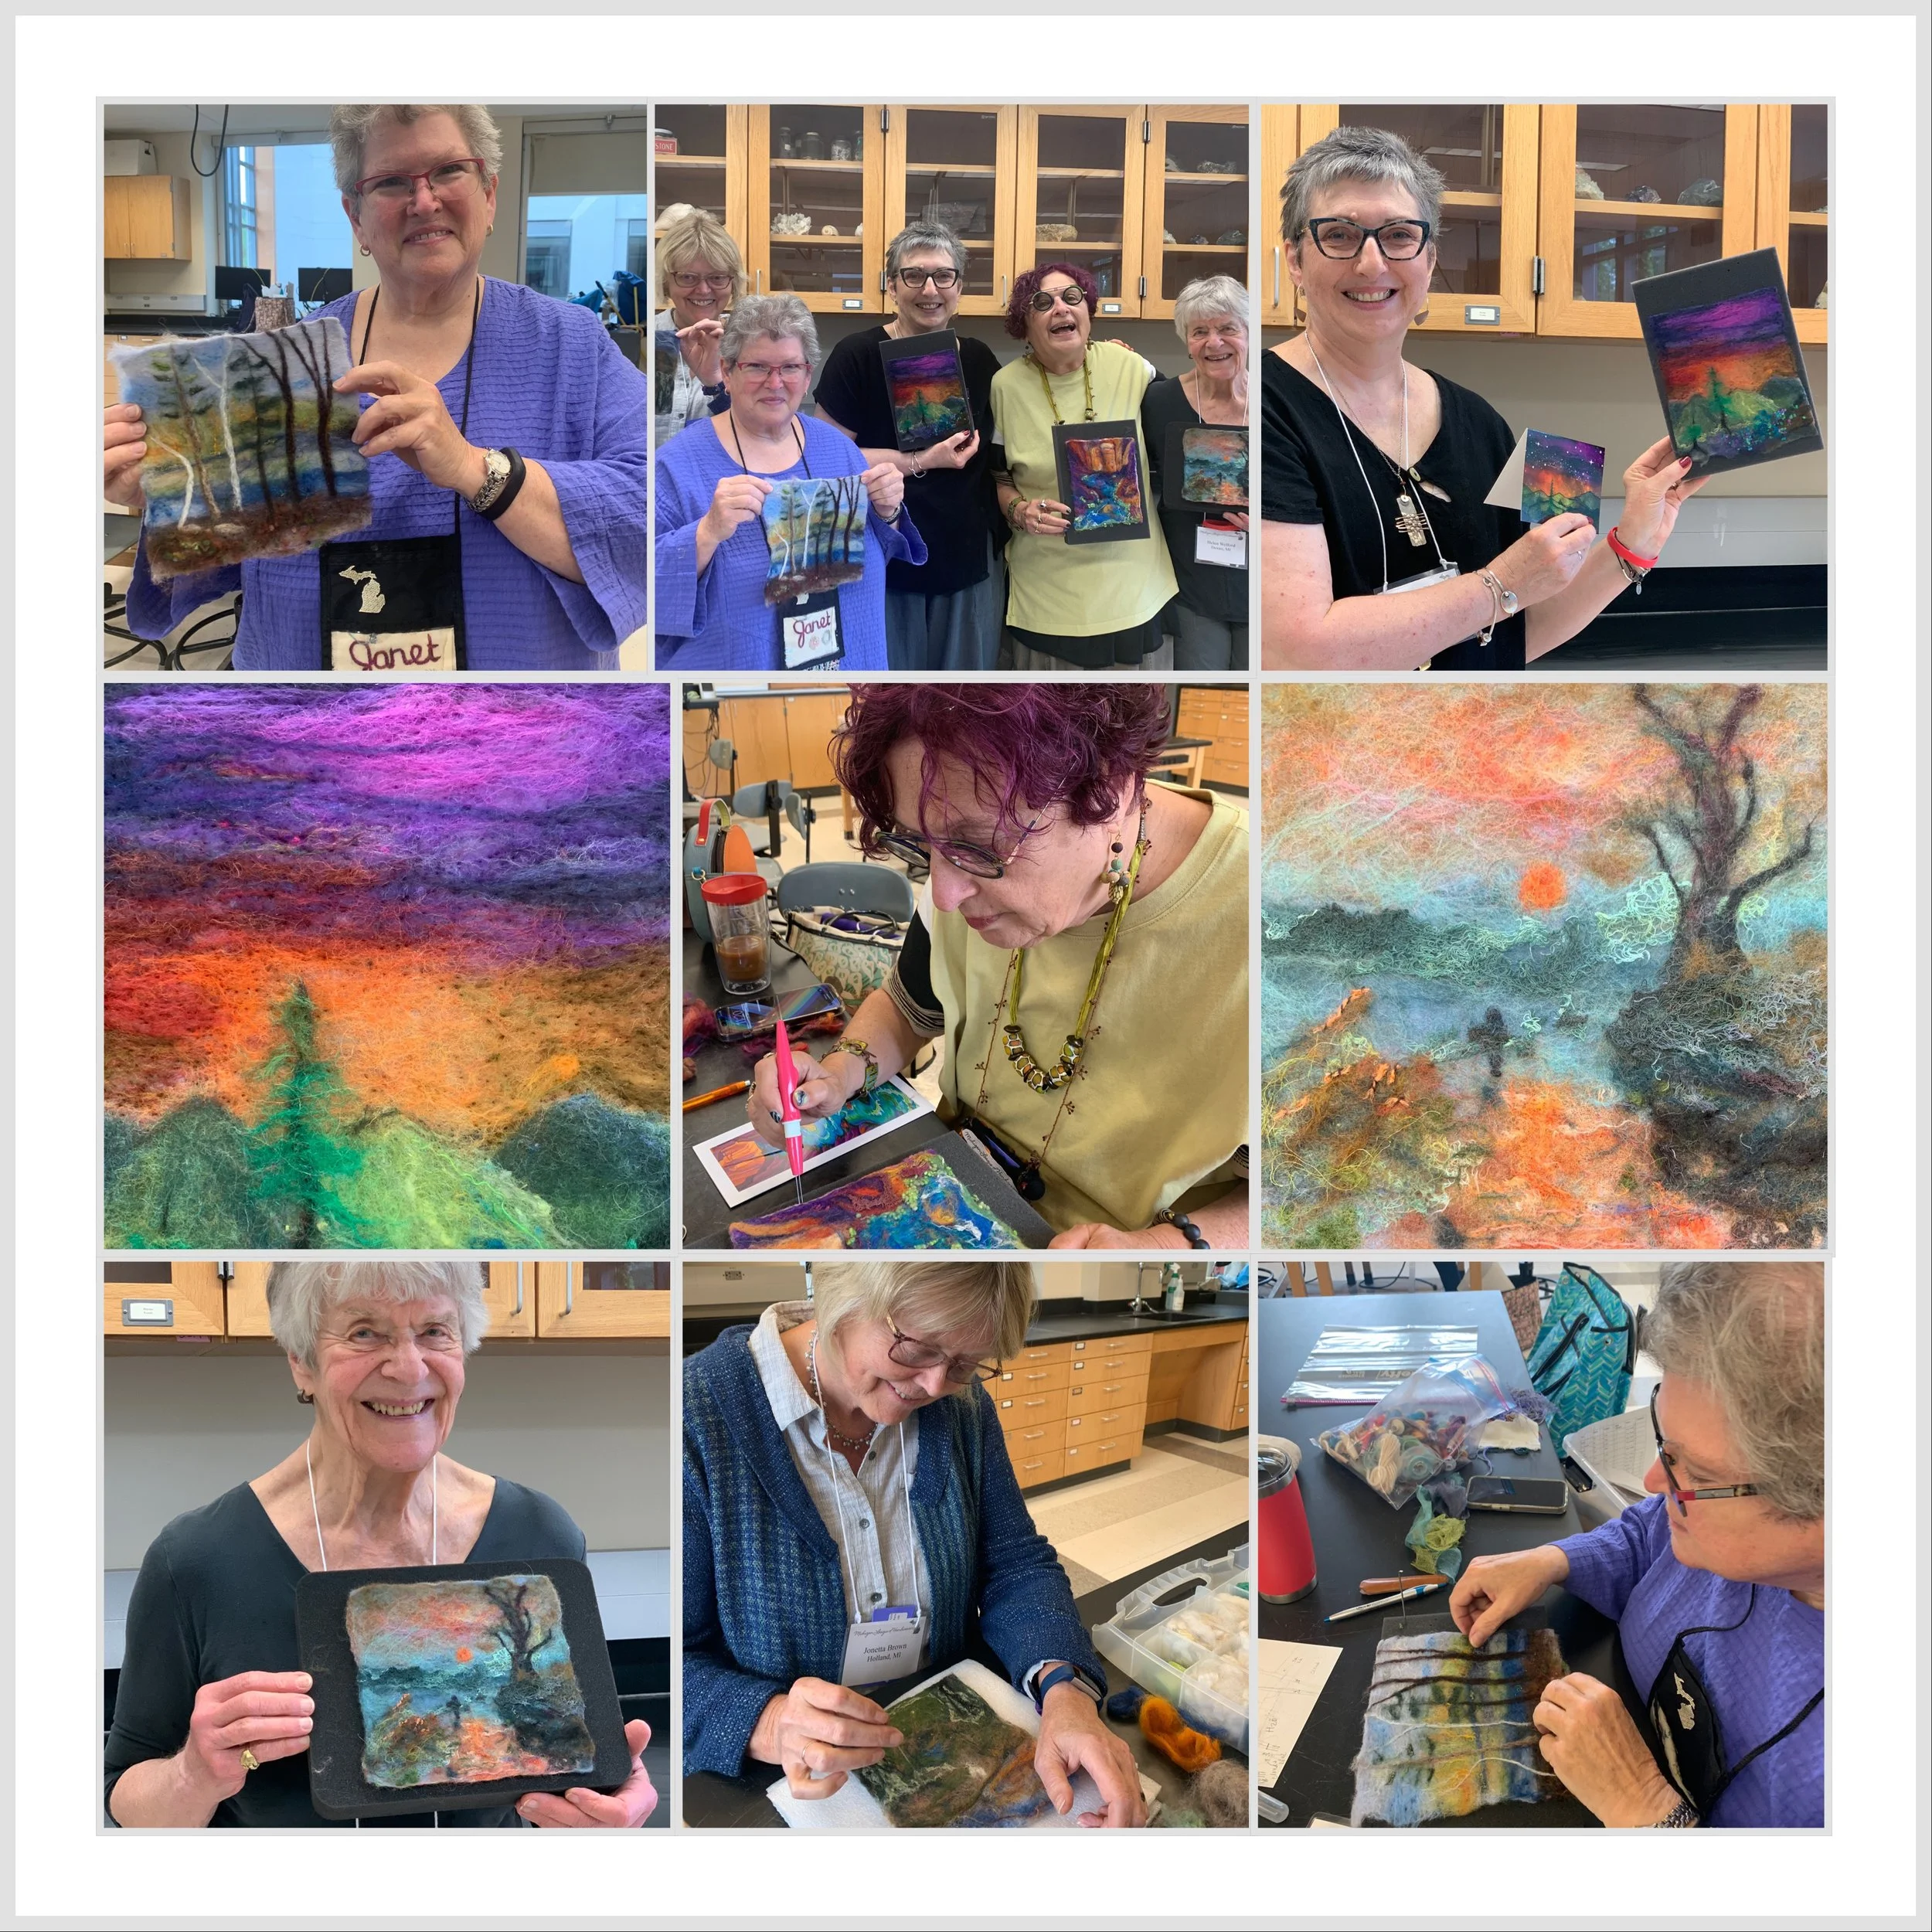
I’ll be demonstrating and teaching my wetfelting landscapes at the Michigan League of Handweavers Conference at Hope College in Michigan! Here’s how the final piece turned out. I also had a lot of fun at dinner meeting other instructors and visiting with weaving friends.
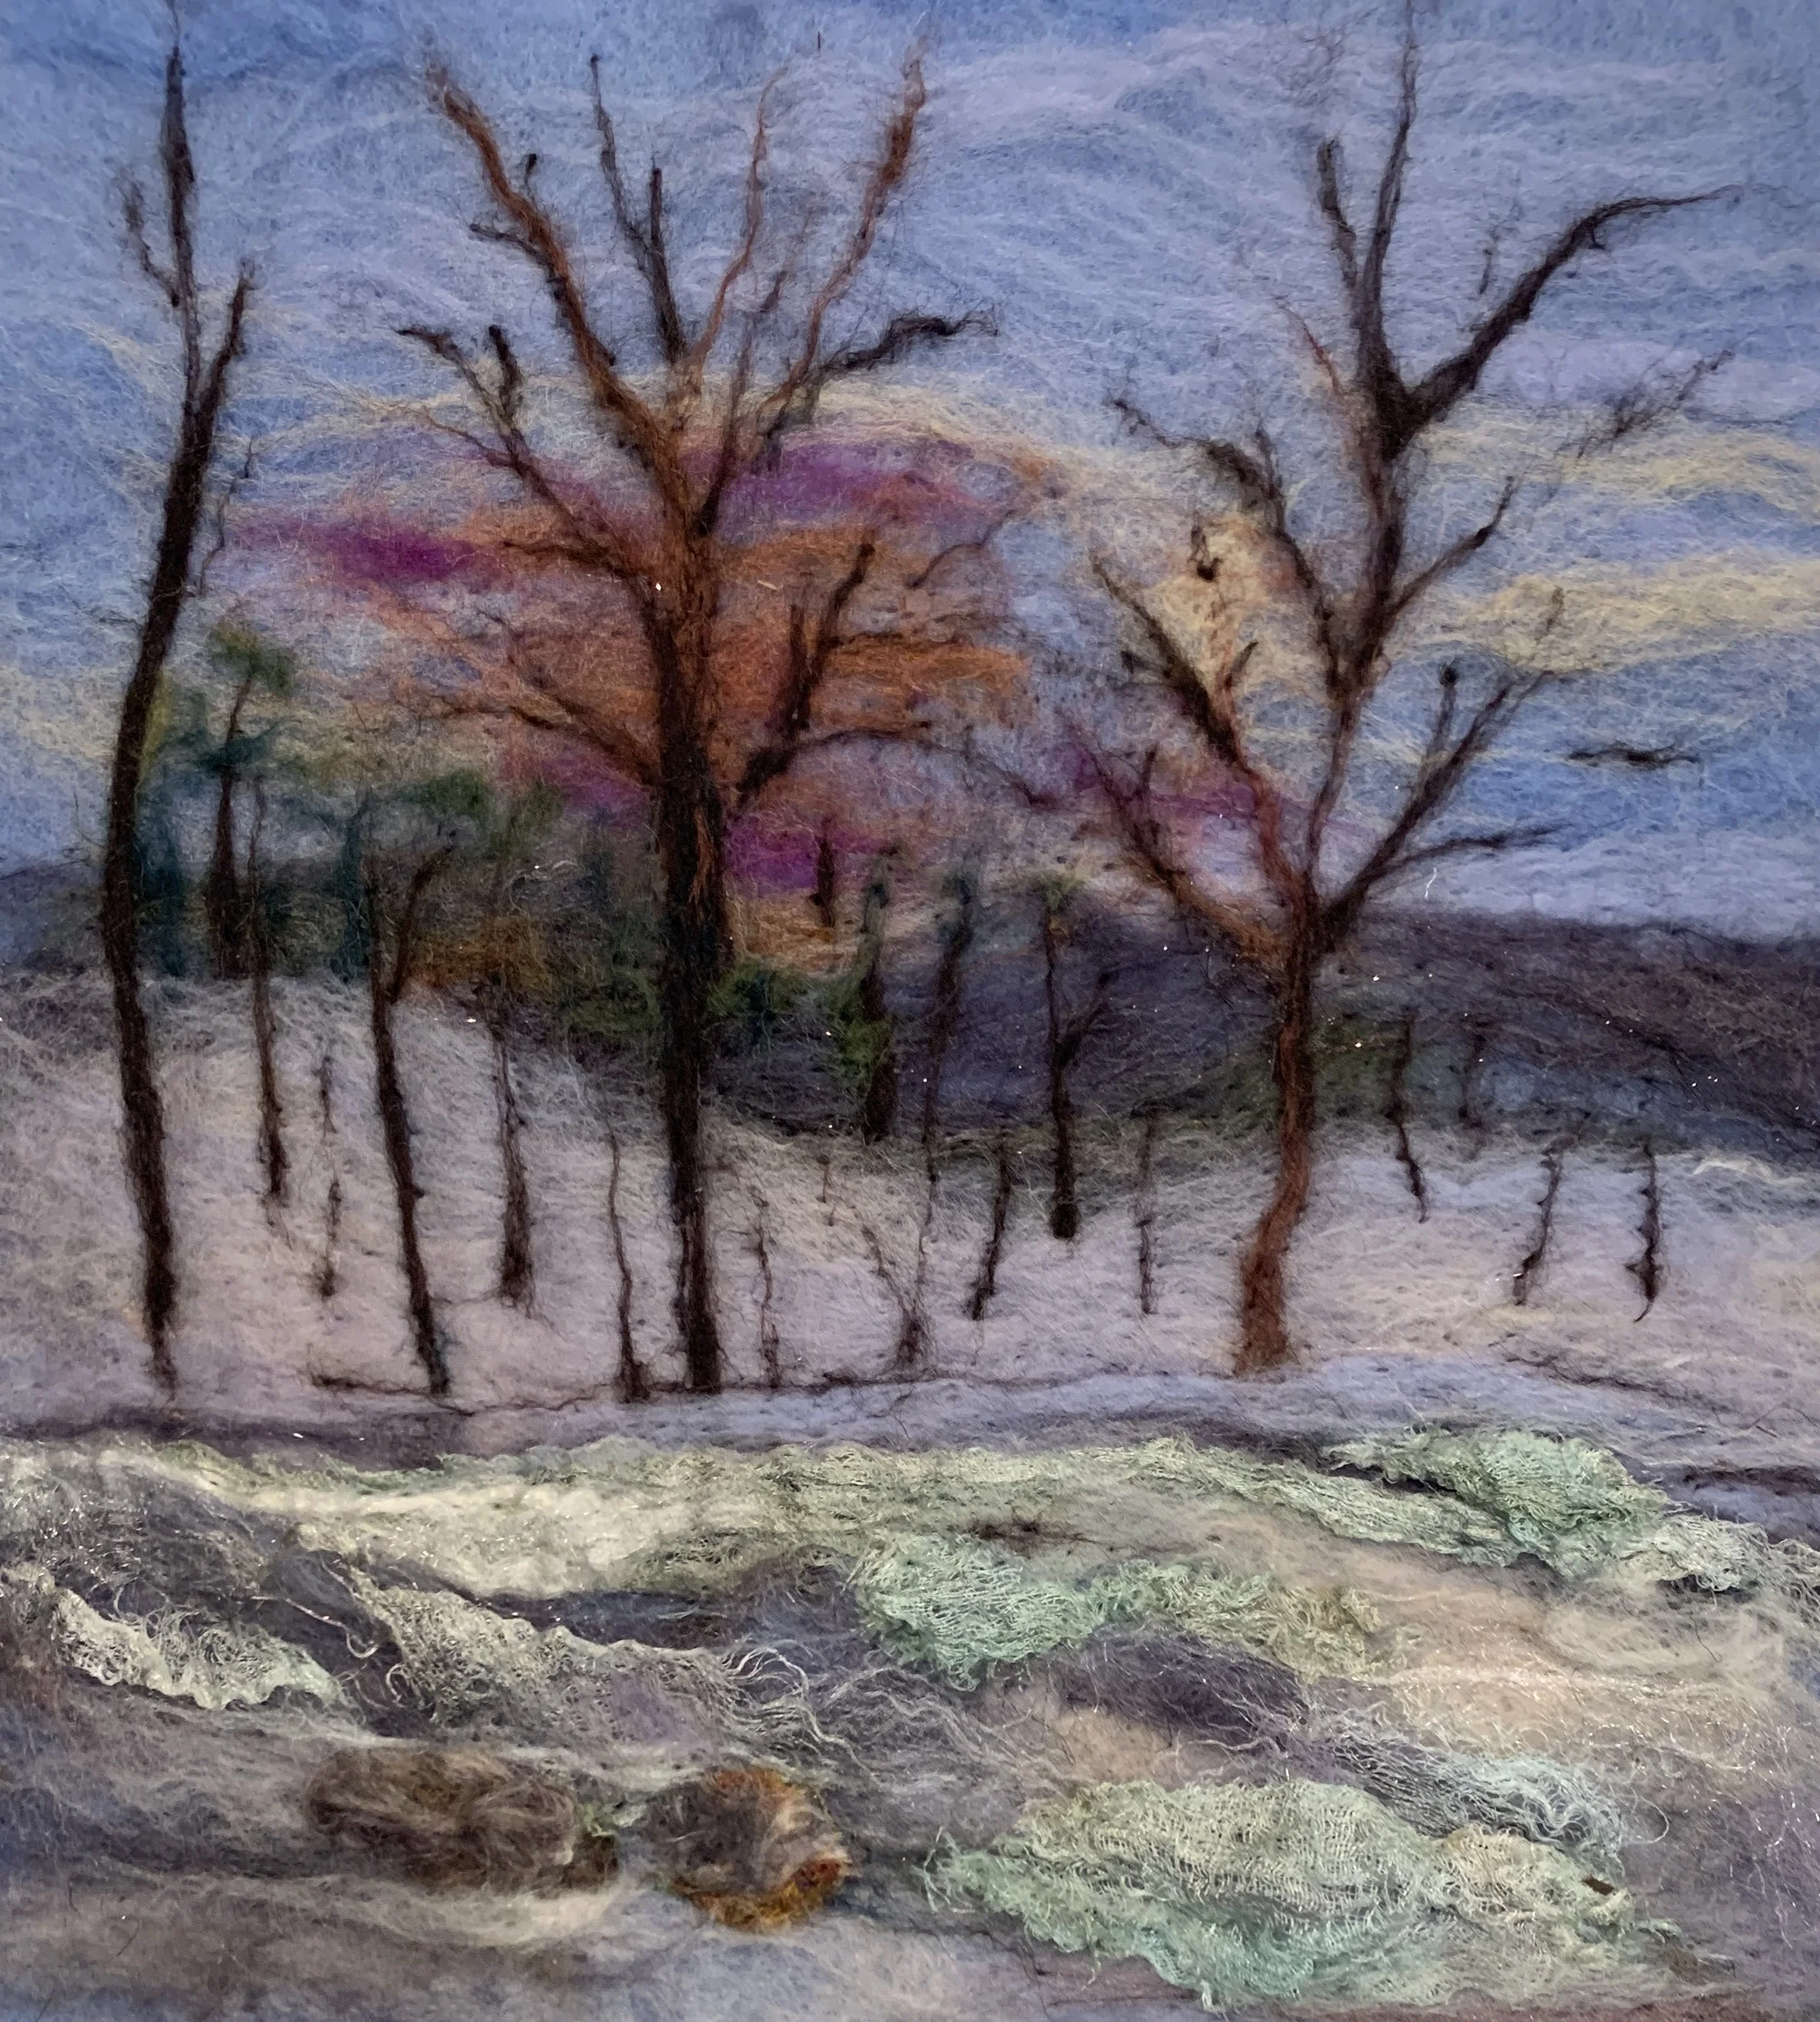
Trine Recreation after Wetfelting
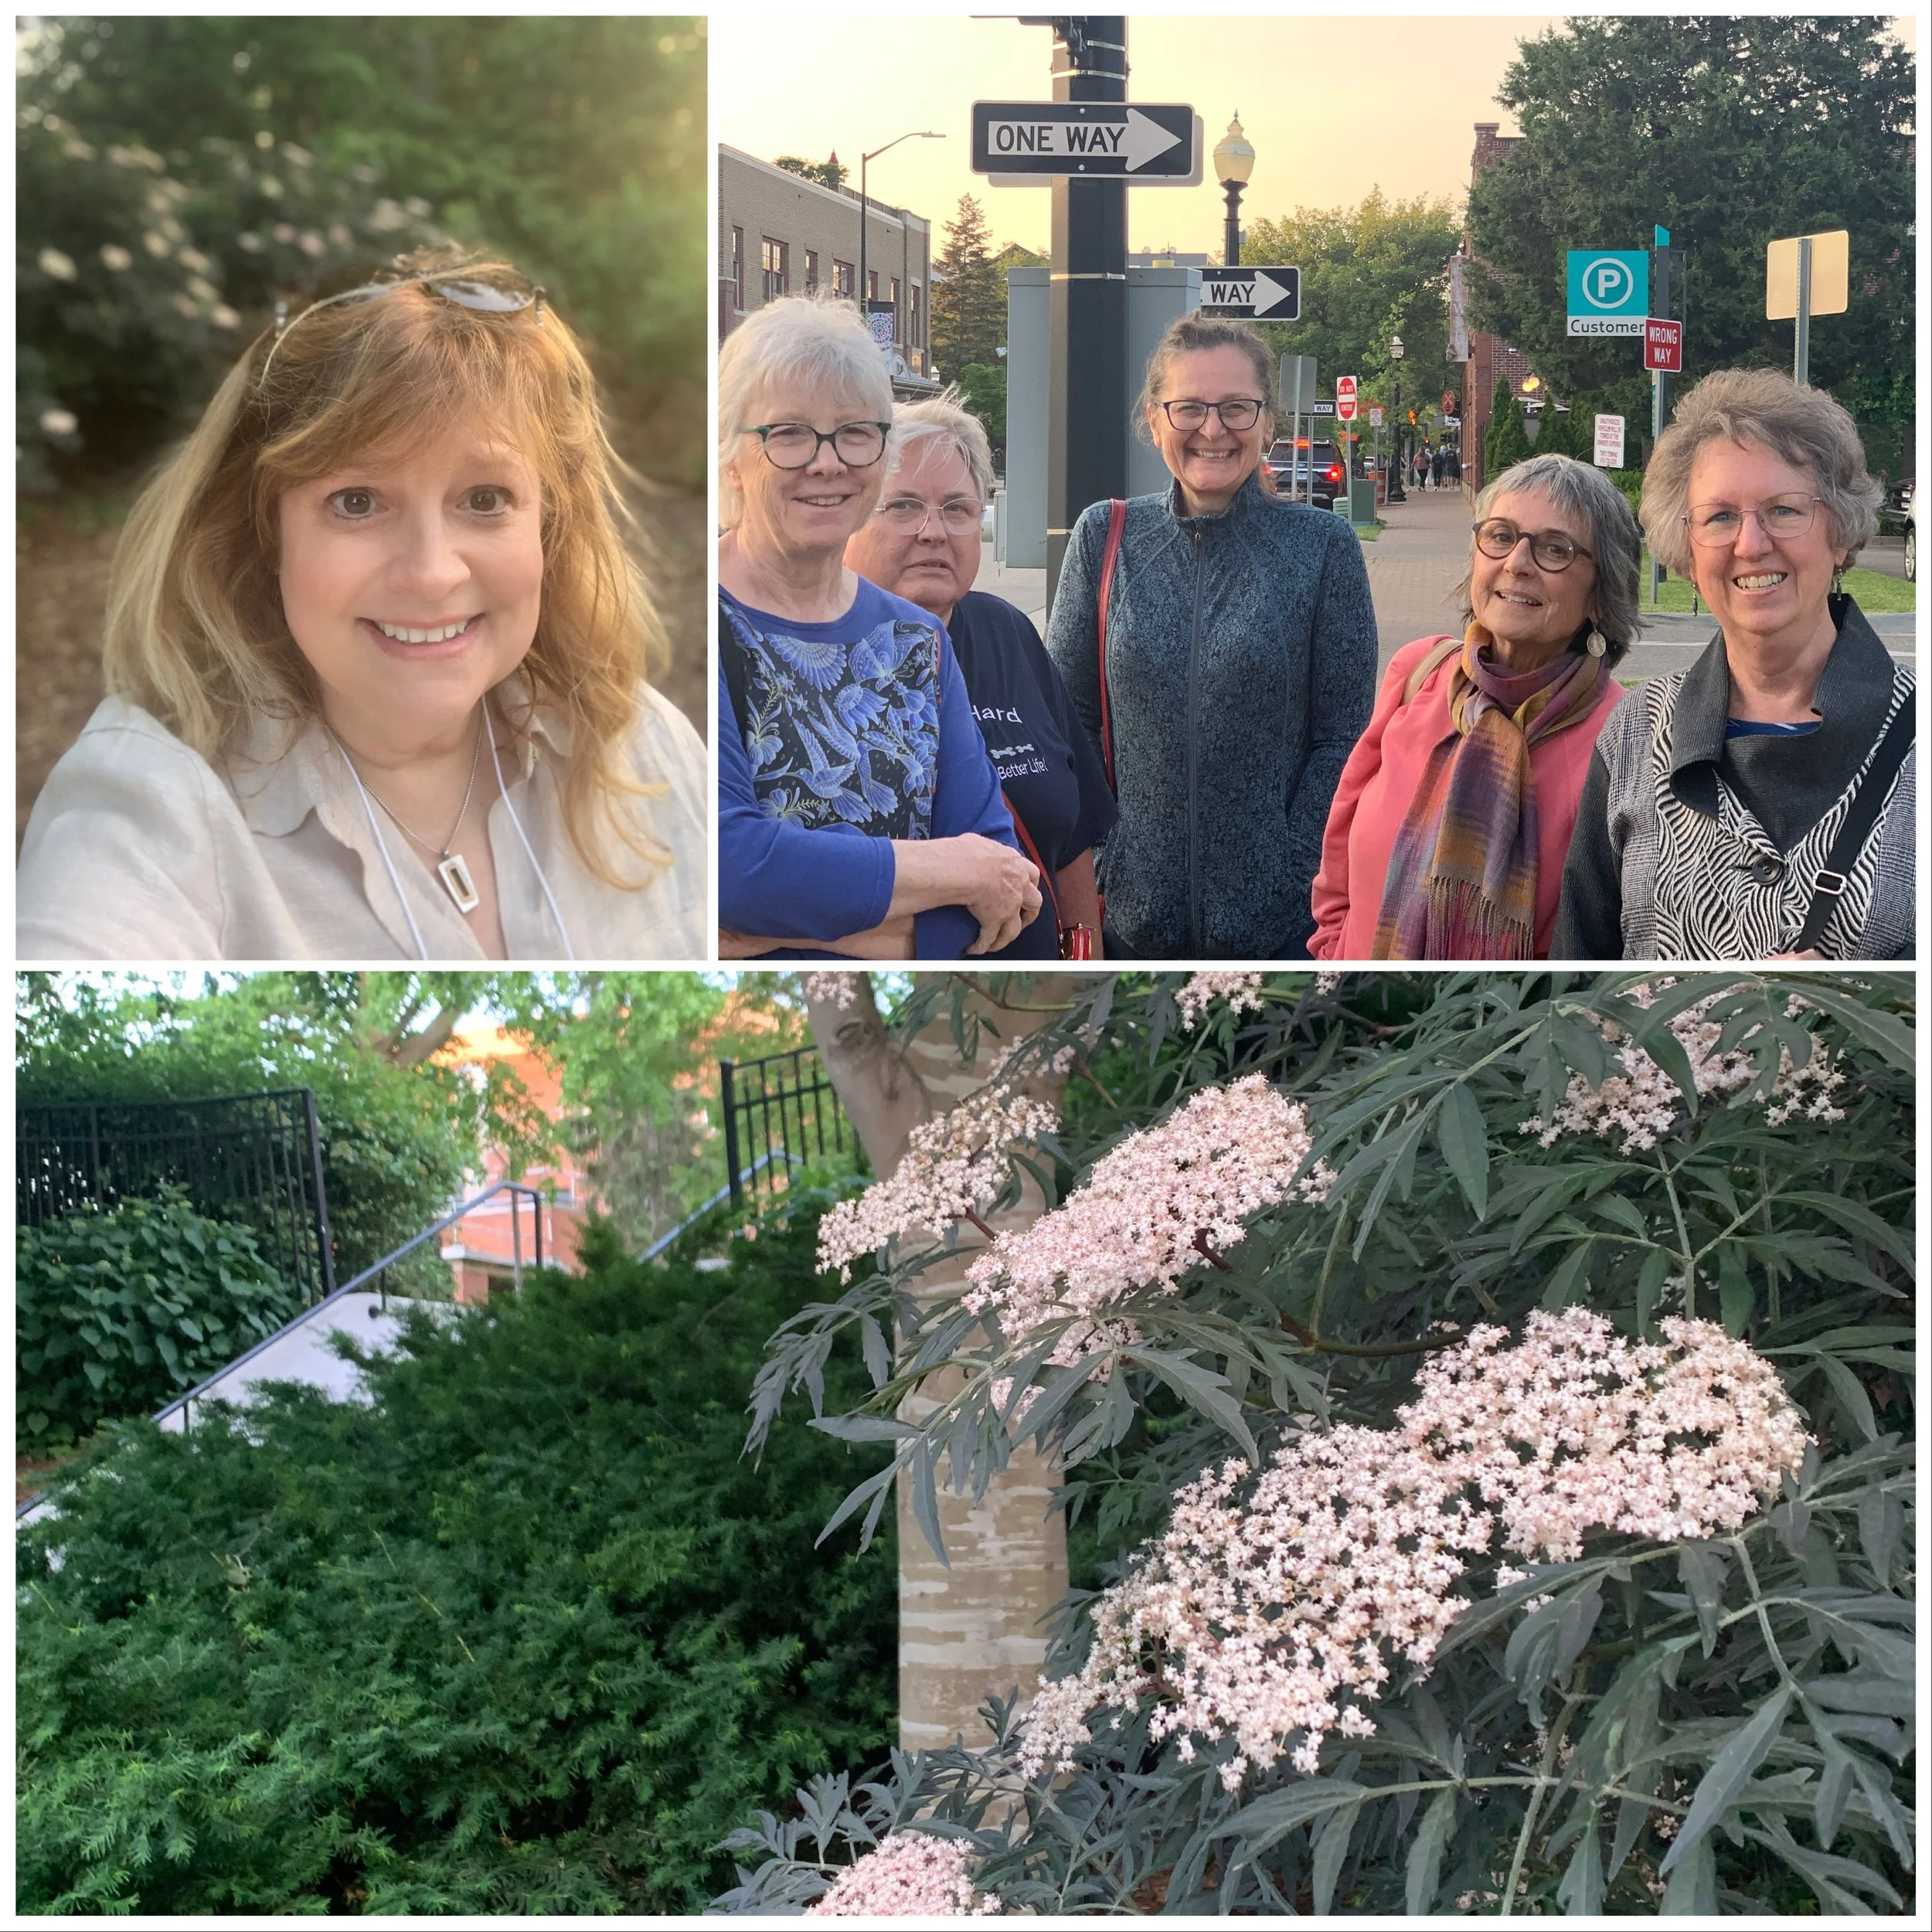
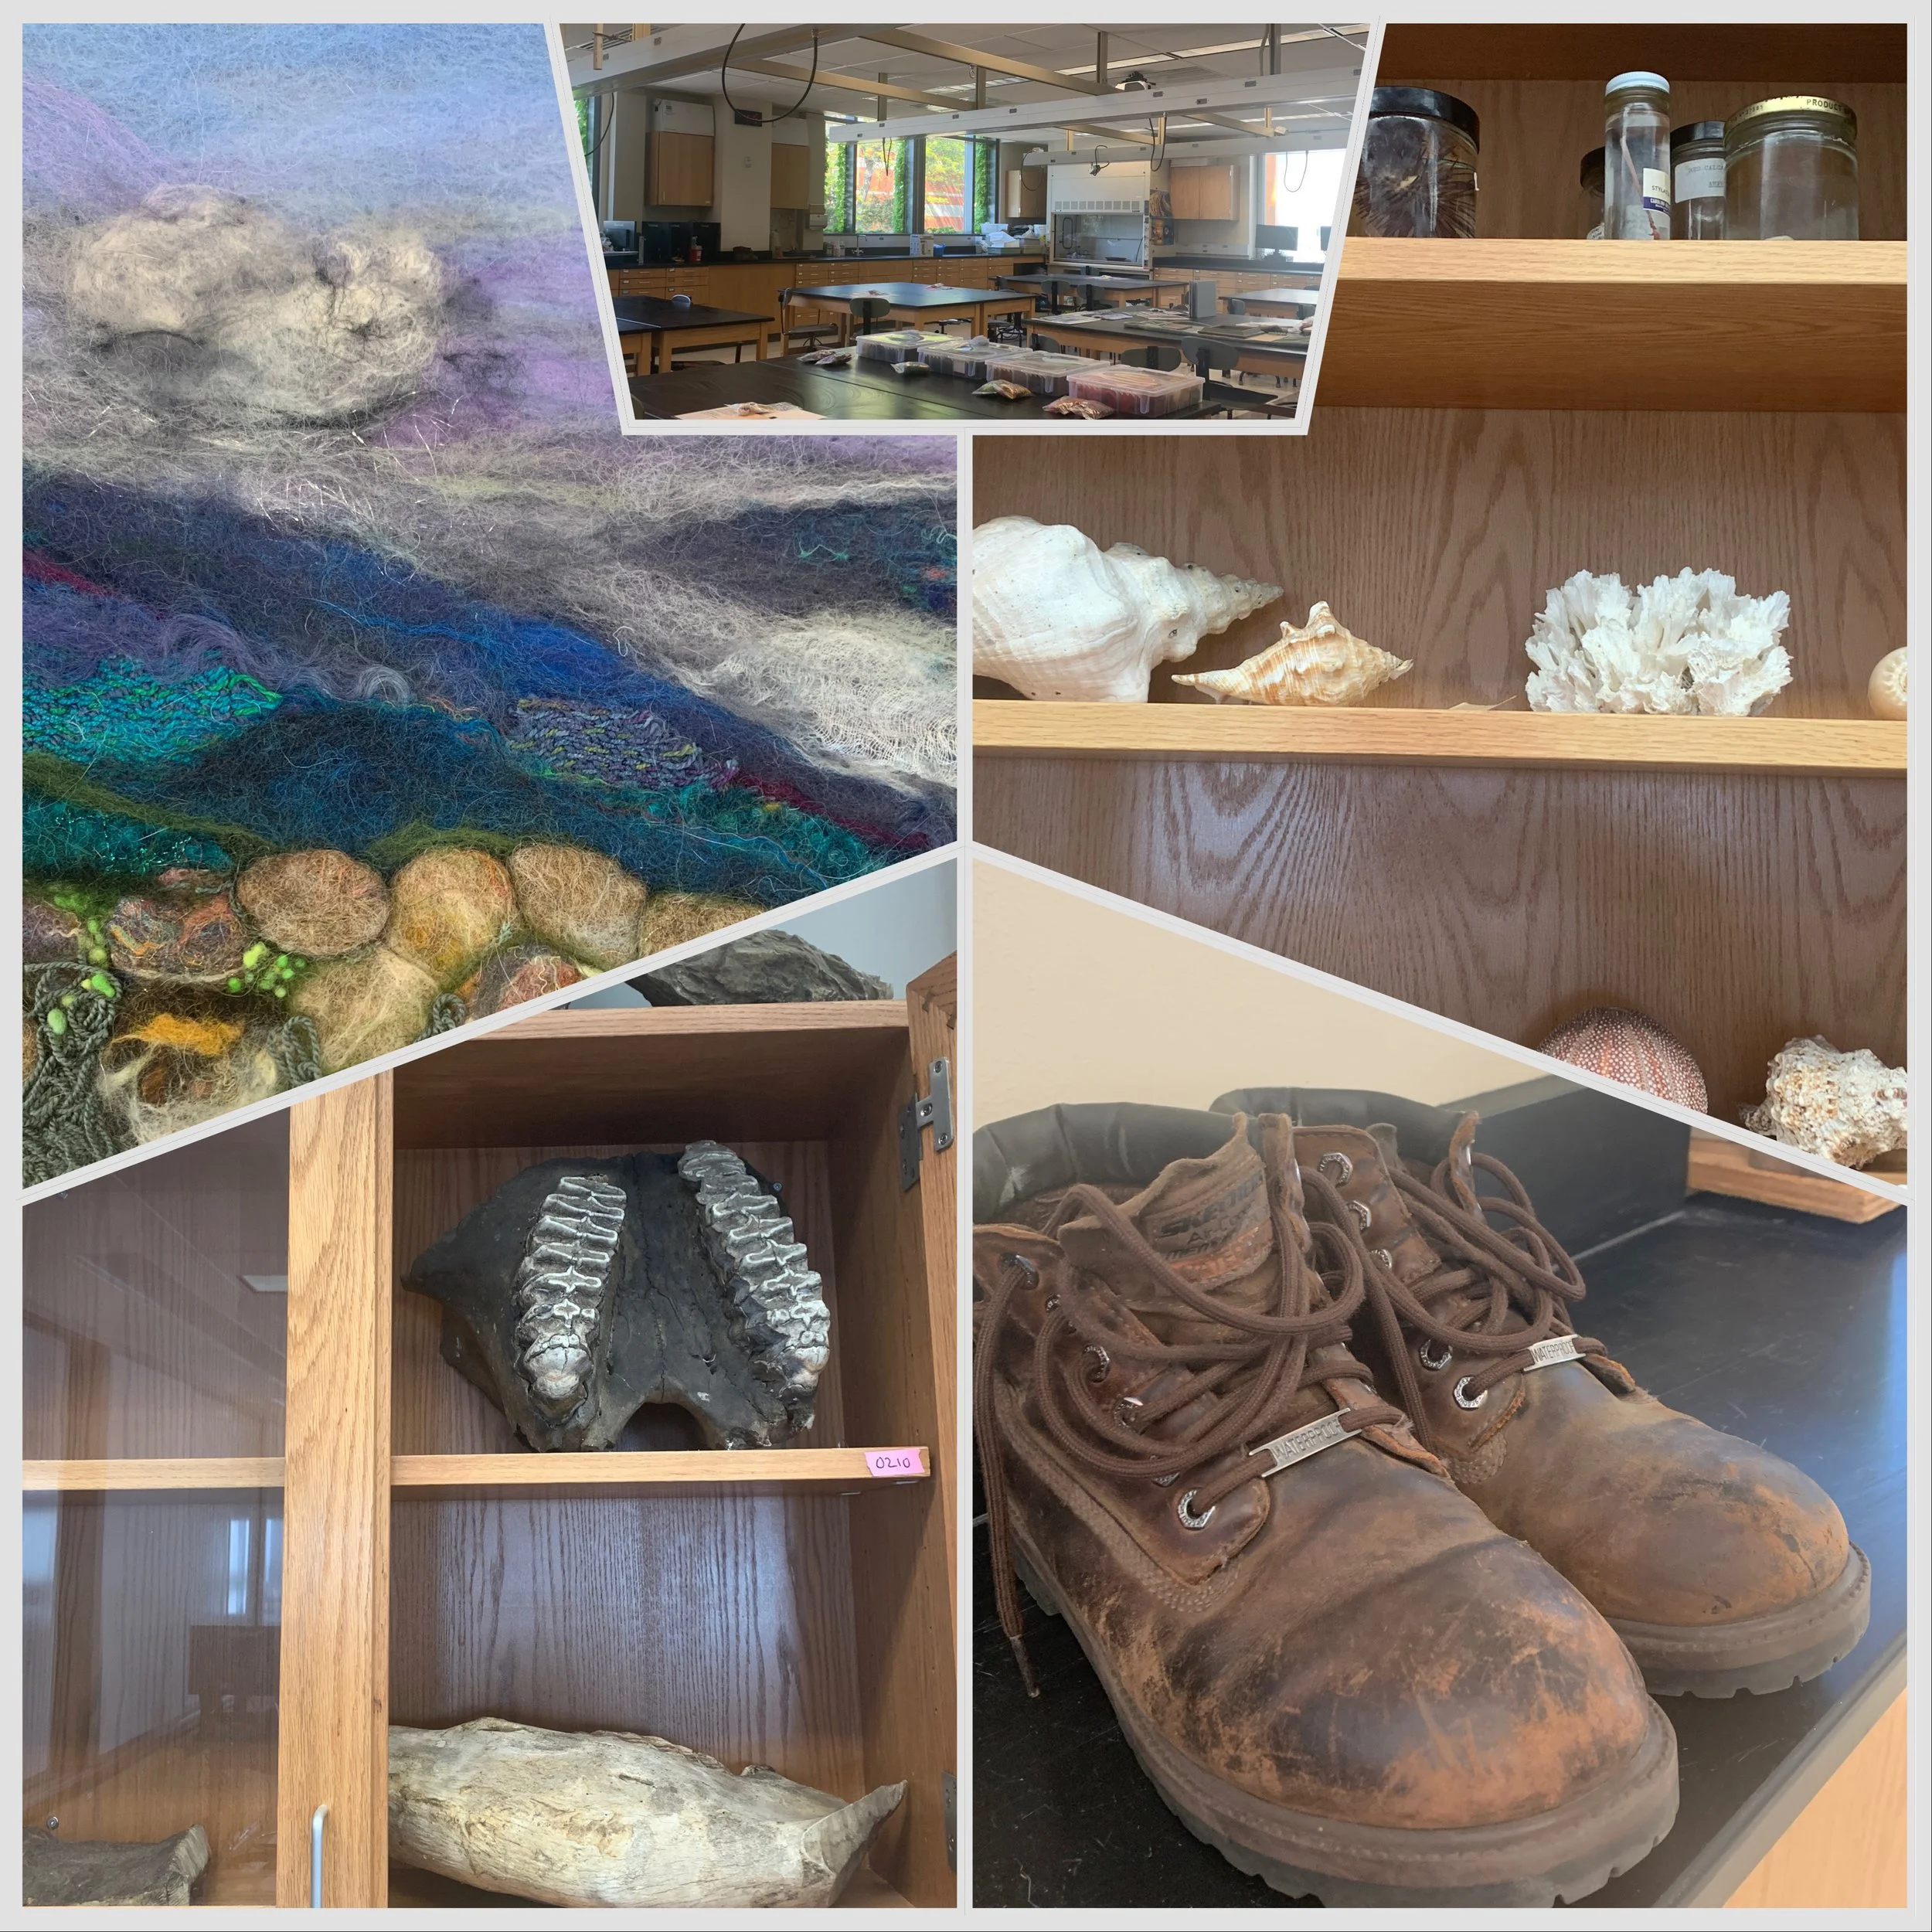
Michigan League of Handweavers Conference Hope College in Holland, MI
A Weaver’s Story…few know that I have an undergraduate degree in geology! Is there any surprise to you that I felt landforms? I was both tickled and surprised that I was assigned to teach in the Science Lab at Hope College. A great facility and a beautiful campus.
We had a short time together at MLH in this 2 day seminar. Here were some of the reflections shared following day one:
Never knew I could use scissors when felting! You gave me freedom.
The quick sketch helped me to find my horizon, simplify and know where to start. My horizon moved down during the layout so I just picked it up and moved it.
Paying attention to where the light is coming!
The textures of cotton scrims surprised me. Love adding the textures!
I loved used the pre-felt and was shocked at how quickly the fibers felted together.