
More Sashiko Patterns
I love working with fabric and fiber and can get easily sidetracked when shopping for fabrics online. When I first learned to stitch Sashiko, it was all by eyeing the length of the running stitch. I used a ruler to assist and have sometimes tried out the Hera bone marking tool. Some use marking tools, but I was not taught to mark the fabric. But what about grids? Most Sashiko designs are based on square grid and some may use a triangle or diagonal. In some of the geometic designs I could not imagine how to stitch without some sort of marking pattern. At Kimonomomo (California), I found just what I needed along with some authentic Japanese fabric-Sashiko Cloth! I was thrilled with how light weight and easy to use.
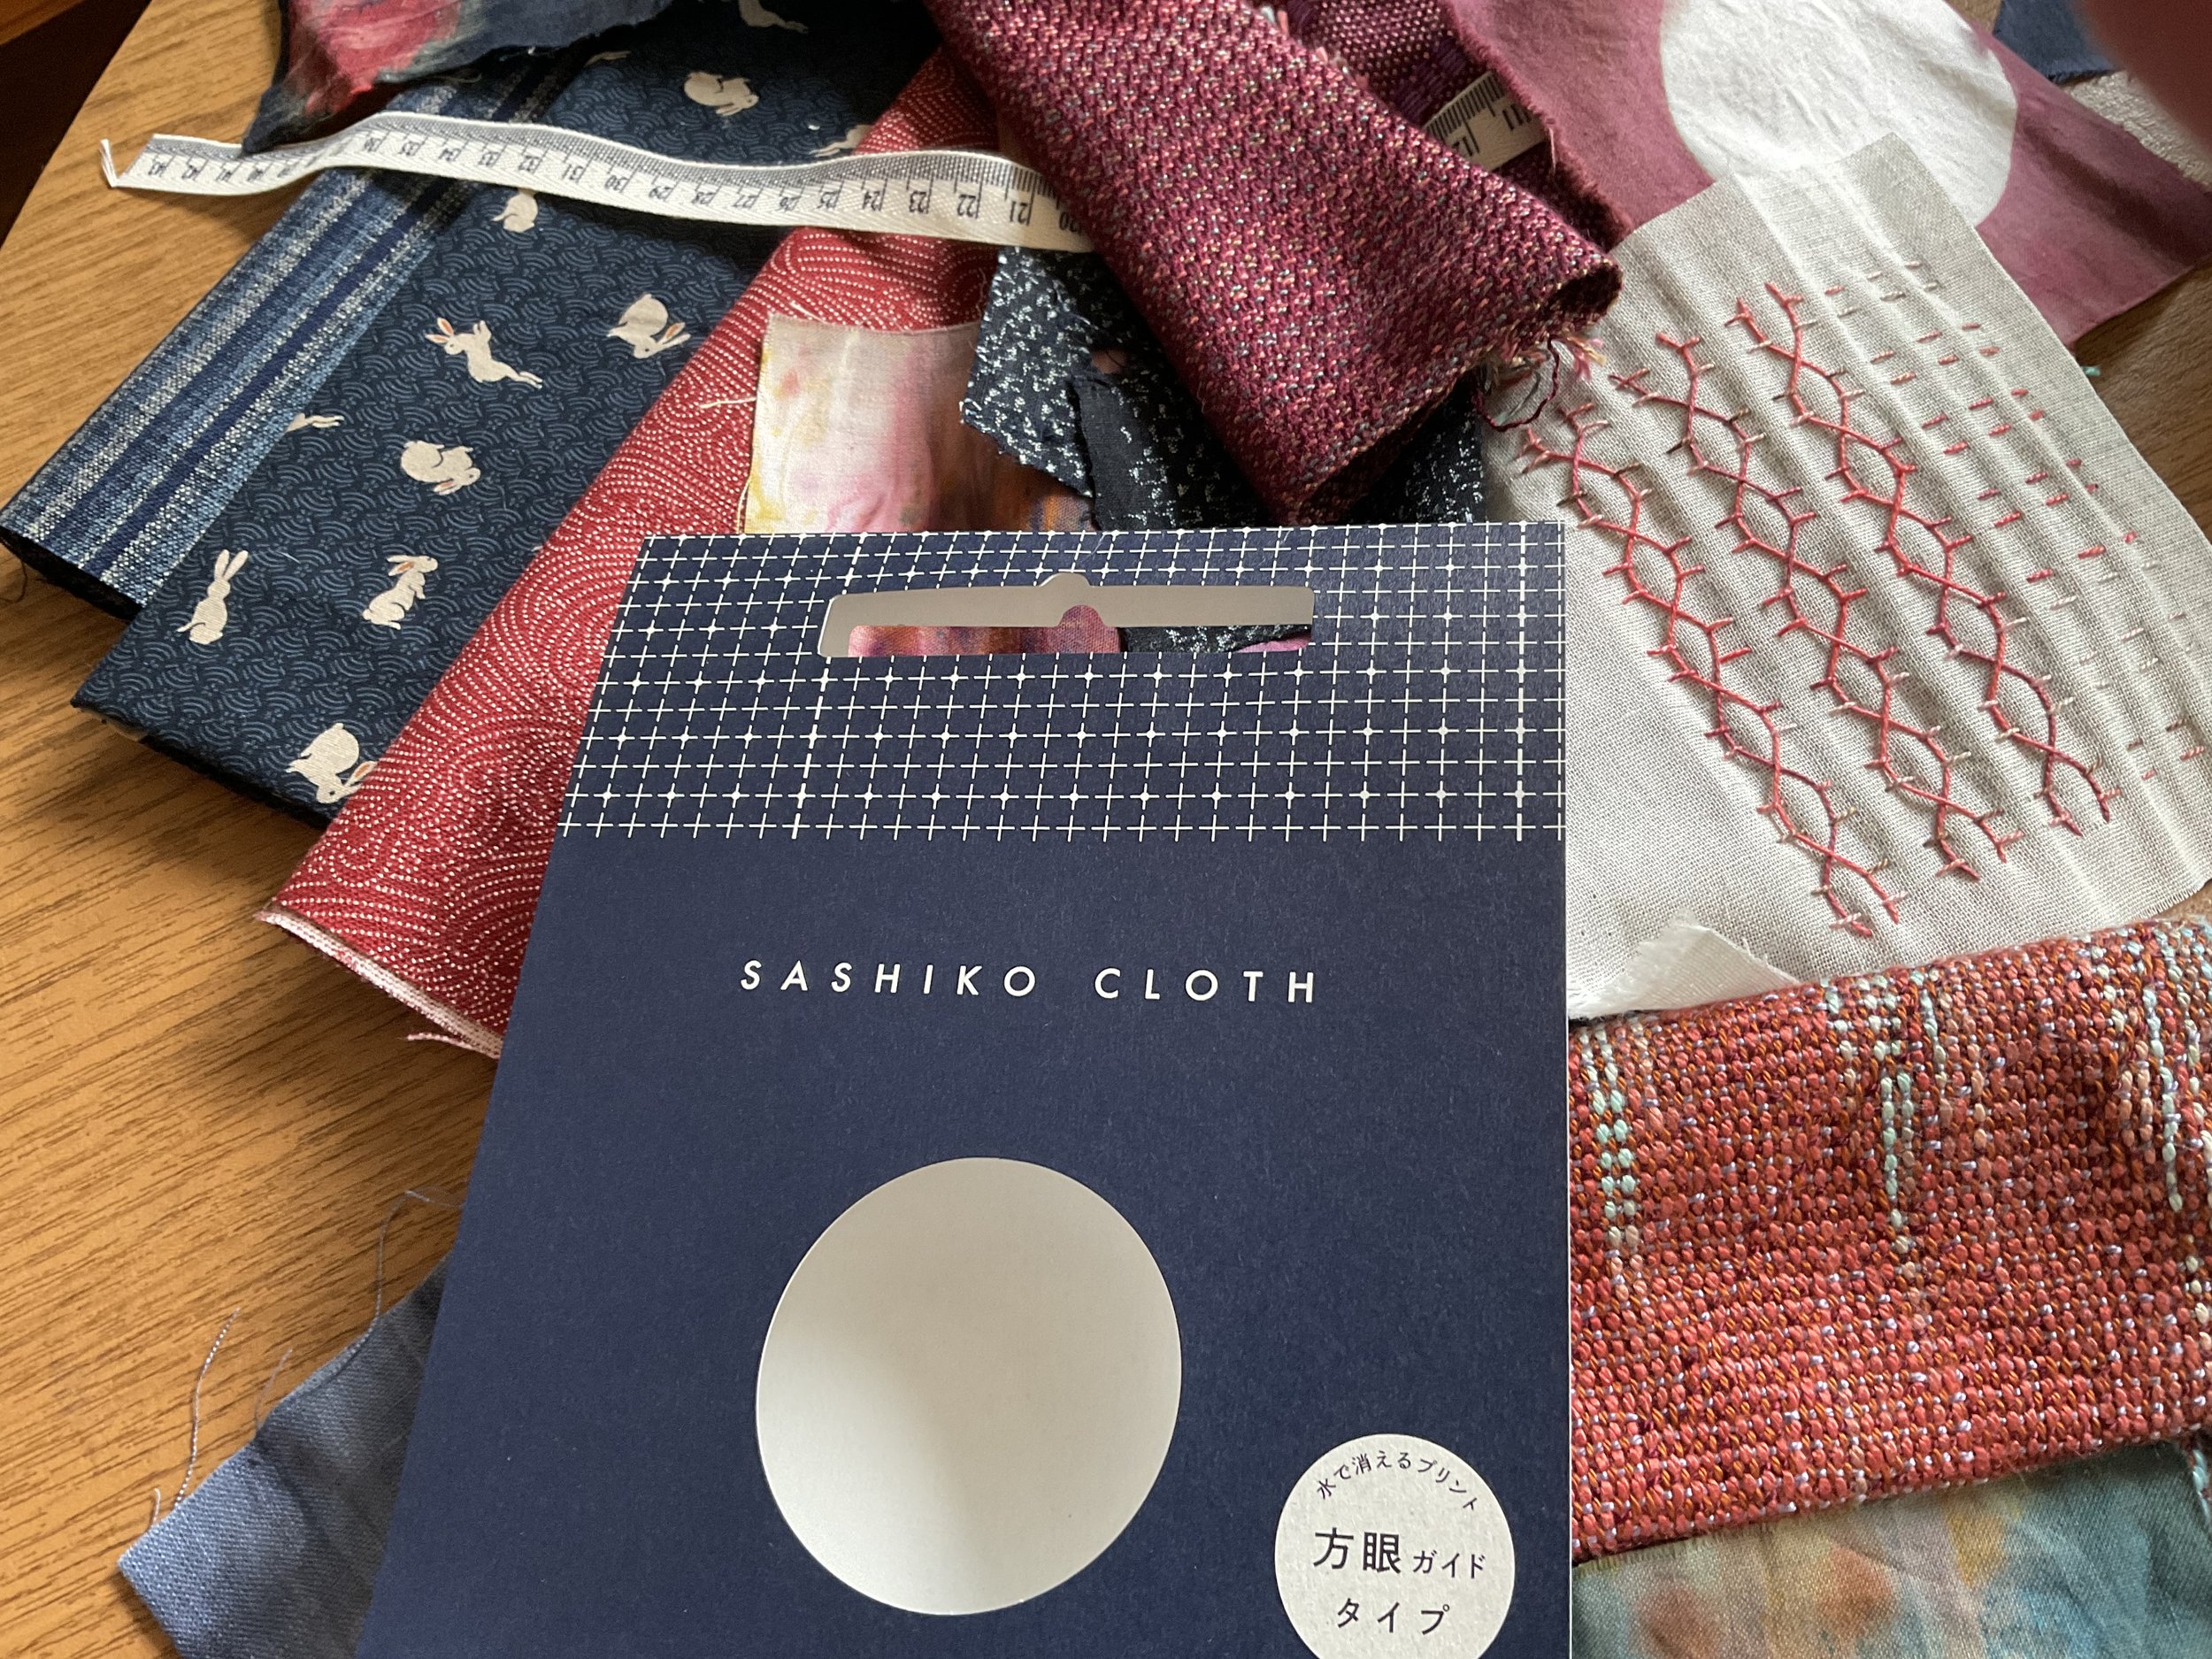
Using handwoven samples in my collage art is much easier to do than one would think and it provides for easy stitching and an authentic touch. In the history of Sashiko I learned that cotton was originally a luxury fabric. Patterned cotton fabrics were used for Sashiko in some areas, while Kasuri (ikat) or Shibori (tie-die) were popular in Aomori Prefecture (Northern Japan).
Sashiko falls into one of two classifications: pattern Sashiko (Moyozashi) and one stitch Sashiko (Hitomezashi). Pattern Sashiko has curved or straight stitches of the running stitch which make a larger pattern. The stitches do not cross. One stitch Sashiko is worked as a grid of straight lines where stitches meet or cross to make a design. Some of the designs resemble Indian Kantha quilting.
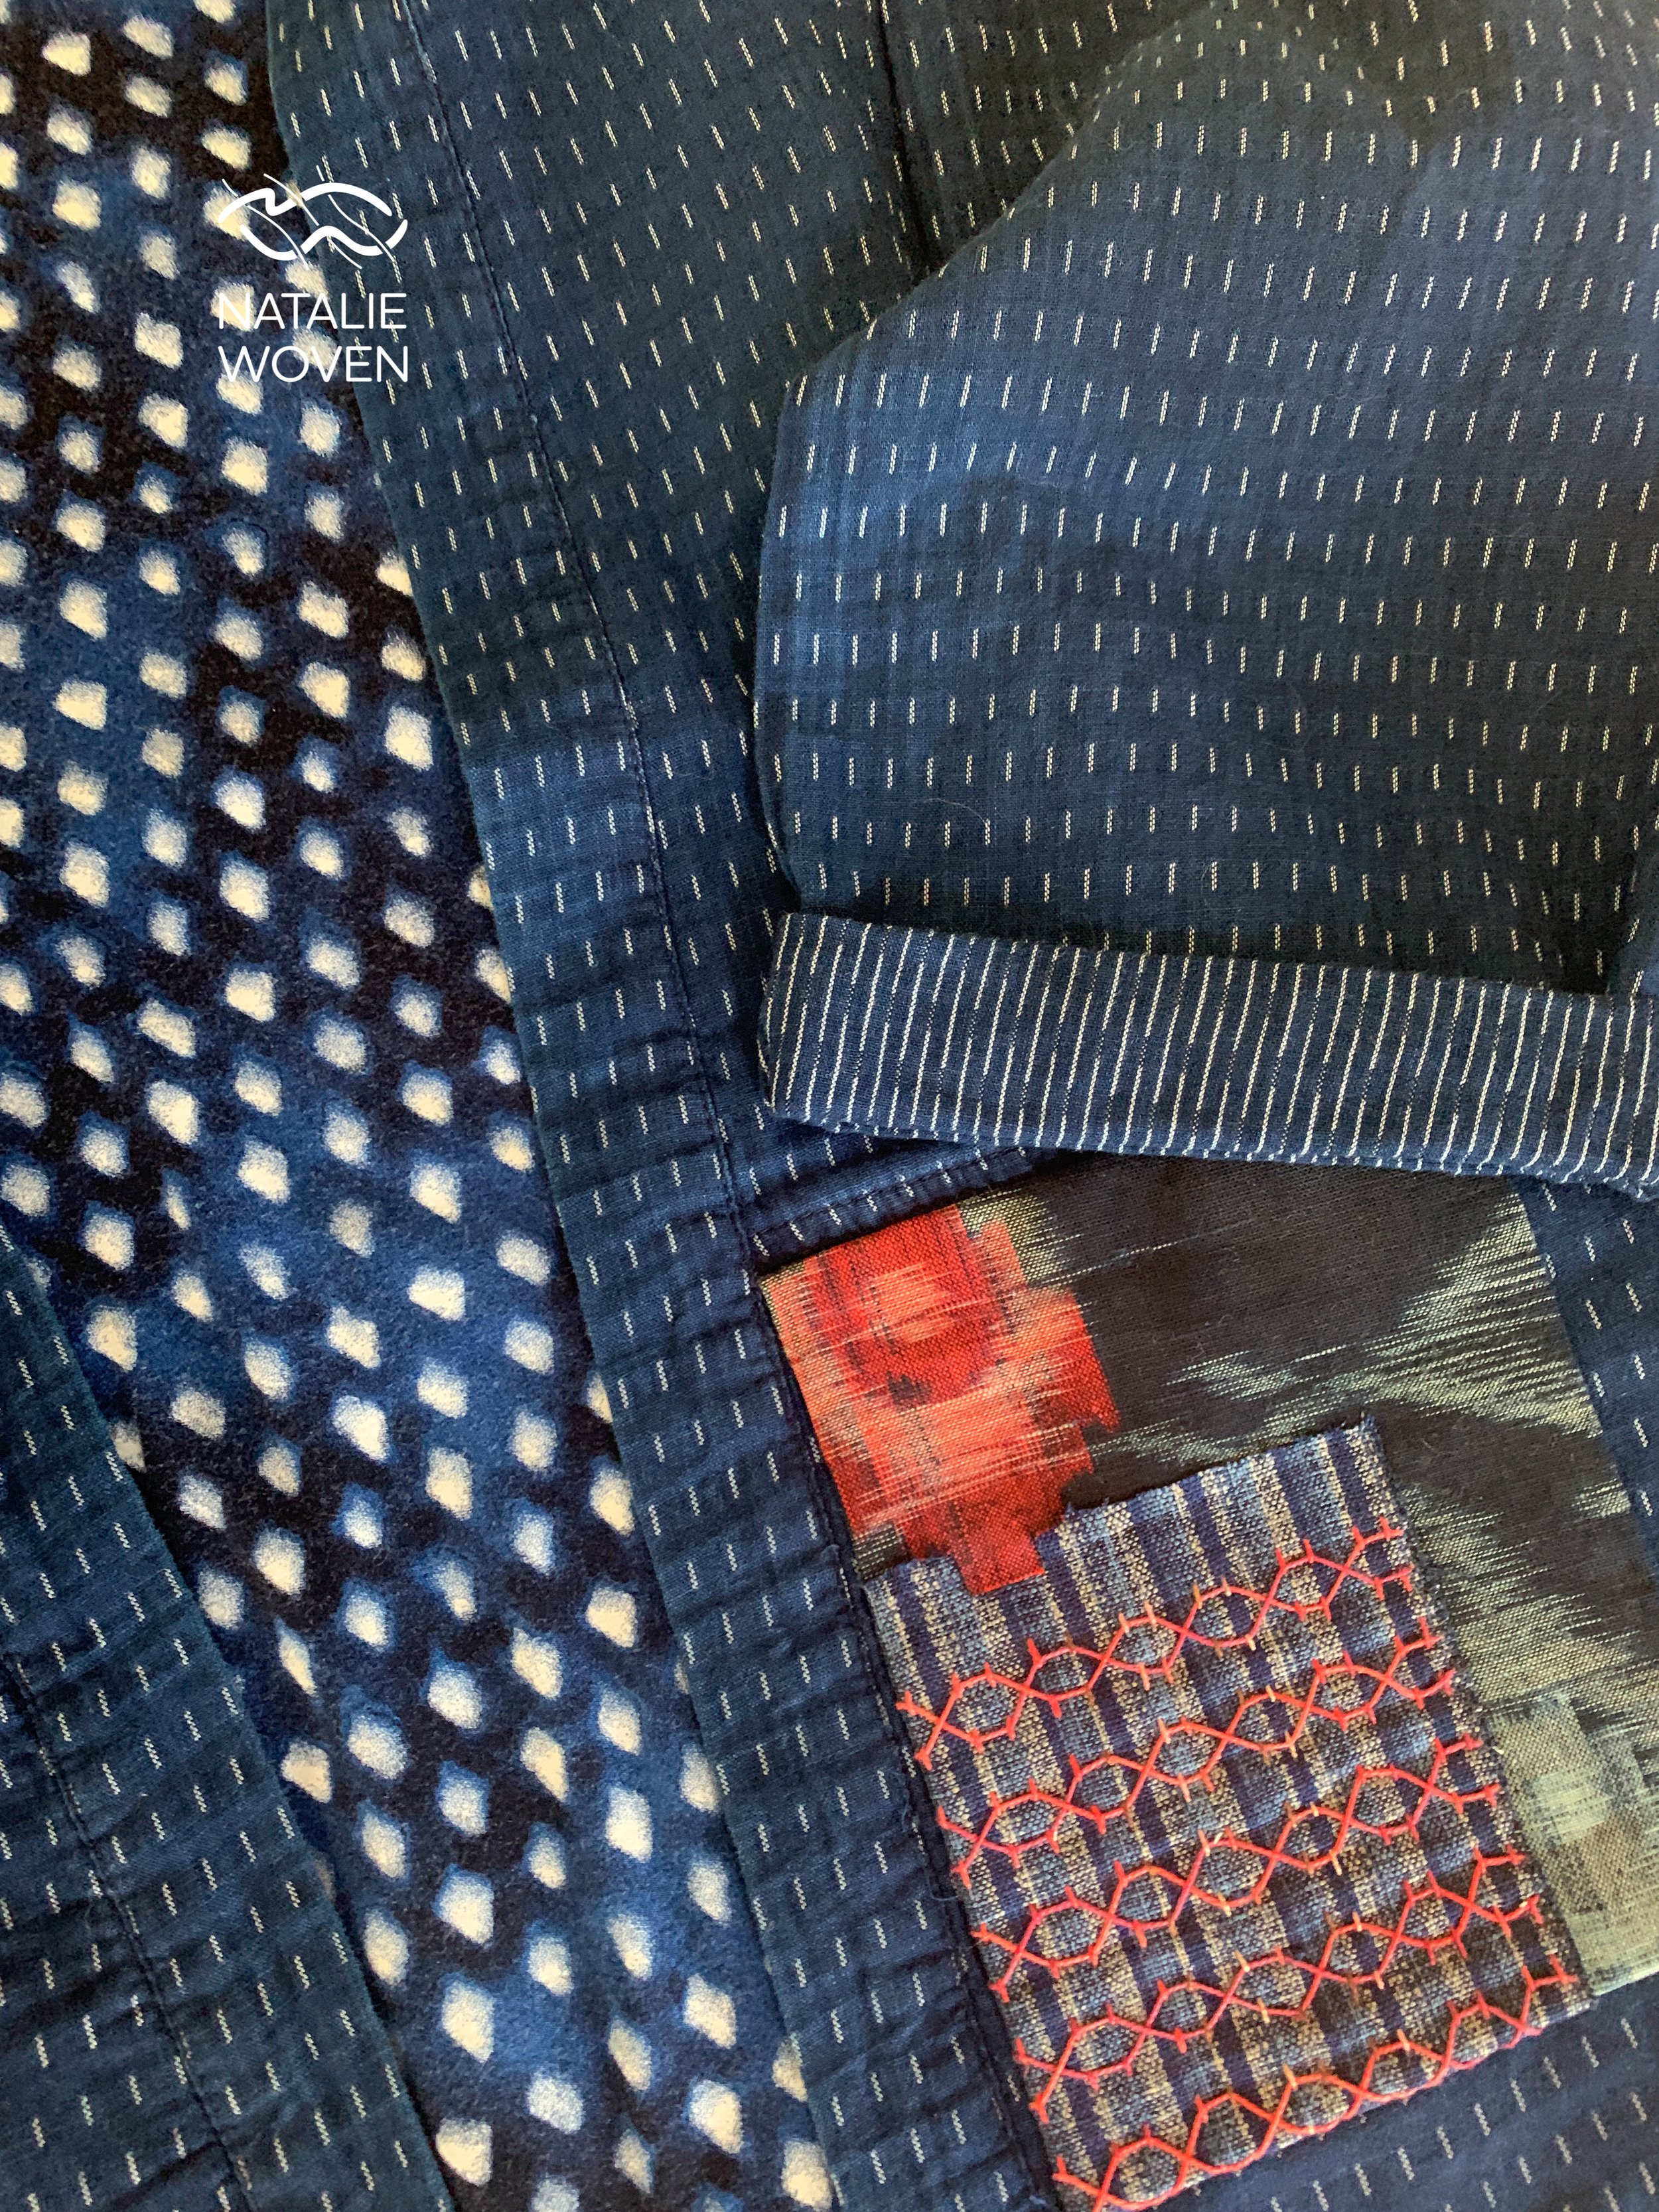
One discovery I made was that I could use my Sashiko cloth as a layer on the back of the cloth. It’s so lightweight and although I’m not entirely certain that it is designed to be used in this way, I’m going to use it for some more detailed patterns.

Sashiko Cloth
Authentic Boro cloth with Sashiko Cloth sandwiched to the back prior to stitching.
Layout Design Step 1
The authentic boro cloth was one I purchased years ago because it had warp and weft ikat. Some of the indigo actually has migrated through the fabric into the white areas leaving them a distinctive pale ice blue color. Stripes in cloth were often found and used in fisherman’s clothing.
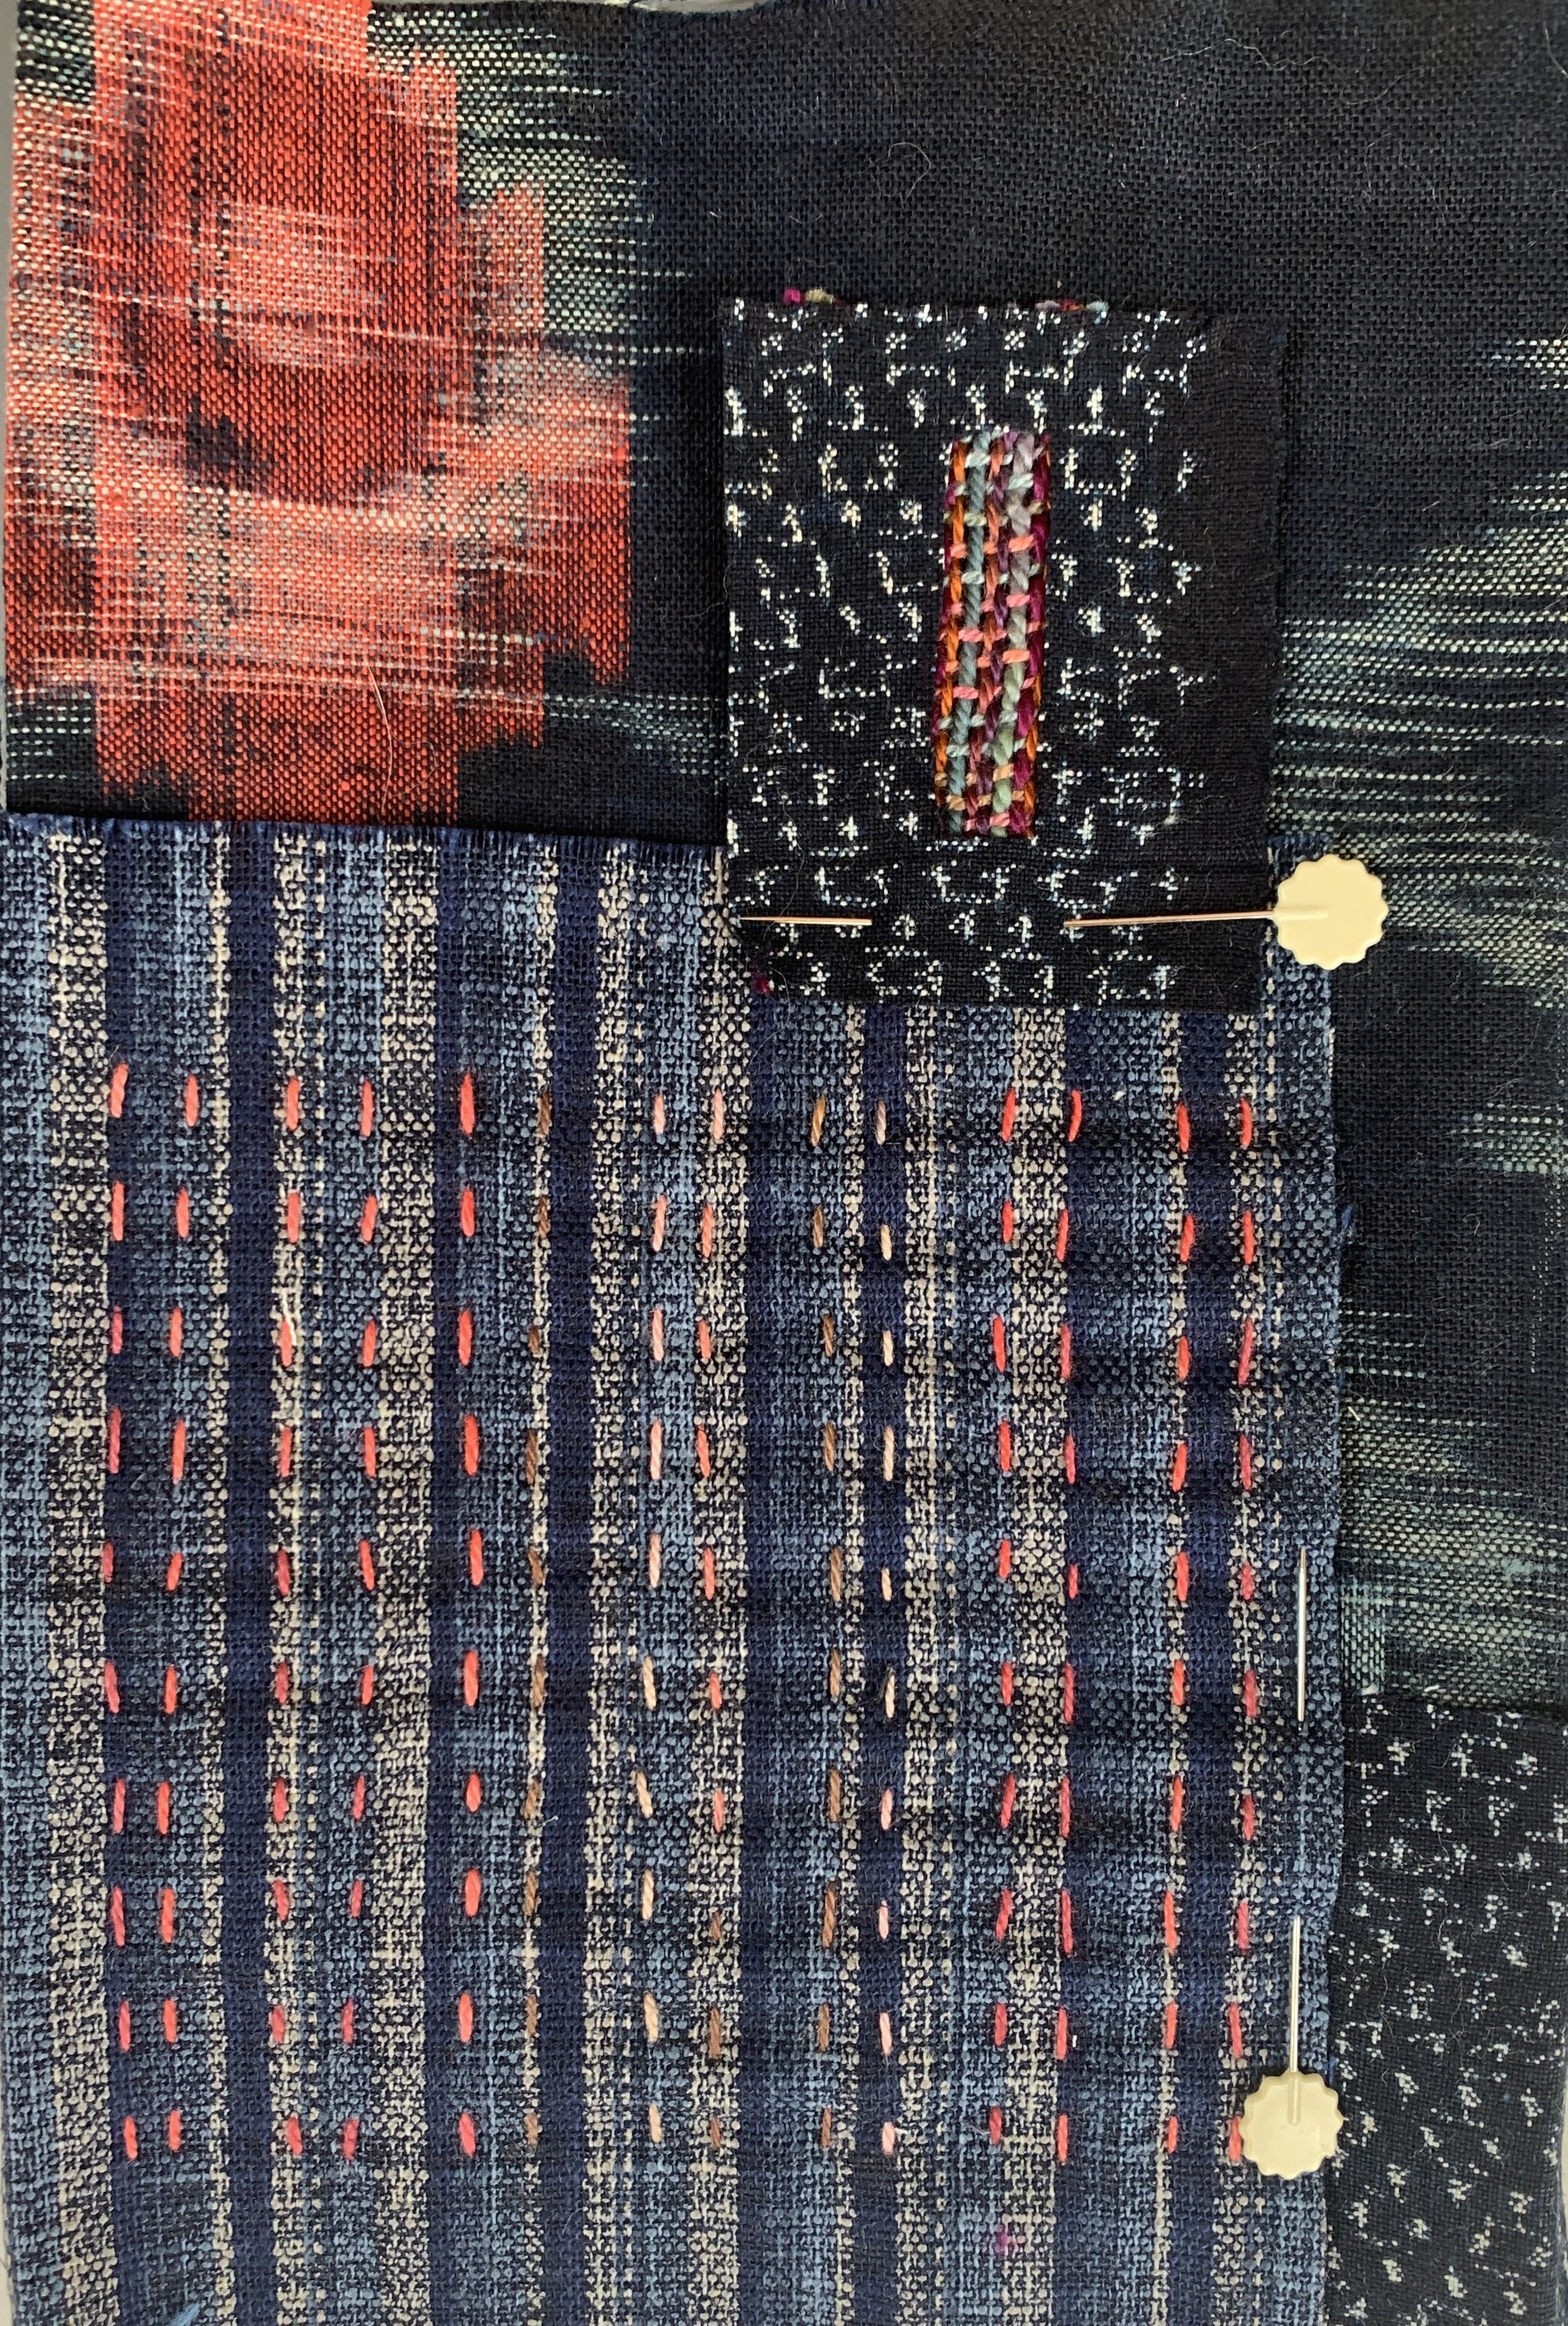
Kuguri-Sashi is a style that combines the one step Sashiko with weaving. Your needle and thread become the weft pattern and weave through/under the running stitches.
Step one-stitching of vertical running stitches with two rows aligning and then leaving an open space using #8 WonderFil Perle Cotton colors EZM1090 and EZM1053.
Step two-knot at beginning on underneath side-stitching horizontally back and forth with needle moving below the vertical running stitch loops.
Sue Spargo in Creative Stitches groups the second part of this stitch as an outline stitch. It’s very similar to a threaded running stitch or a double threaded running stitch.
Other techniques used: cut-away on left to show the red warp ikat on the ground cloth as well as a button hole or window over some of my plain weave handwoven fabric. None of the fabric is stitched to the underlying base cloth yet.

Layout Step 2 Kaguri Sashi
Another Sashiko stitch pattern I was eager to try was Hanashijūshi or flower cross. It begins by stitching the vertical lines first and then filling in with the horizontal stitching. This pattern called for different stitch lengths. The log cabin style patch was machine stitched and had many layers. Because of the layers, the method of layering the Sashiko cloth to the back did not work very well. A Hera Bone marker was used to mark a stitch line. I ended up taking out some of long white stitching that I felt detracted from the overall design.
Also, Sashiko stitching is everywhere. A recent issue of taproot (Issue 57: Blue) has an article on mending. For mending, it is recommended to use one-stitch Sashiko (hitomezashi).

Flower Cross stitching in progress (white thread)
Progress with Sashiko Layout for Clothing Patch